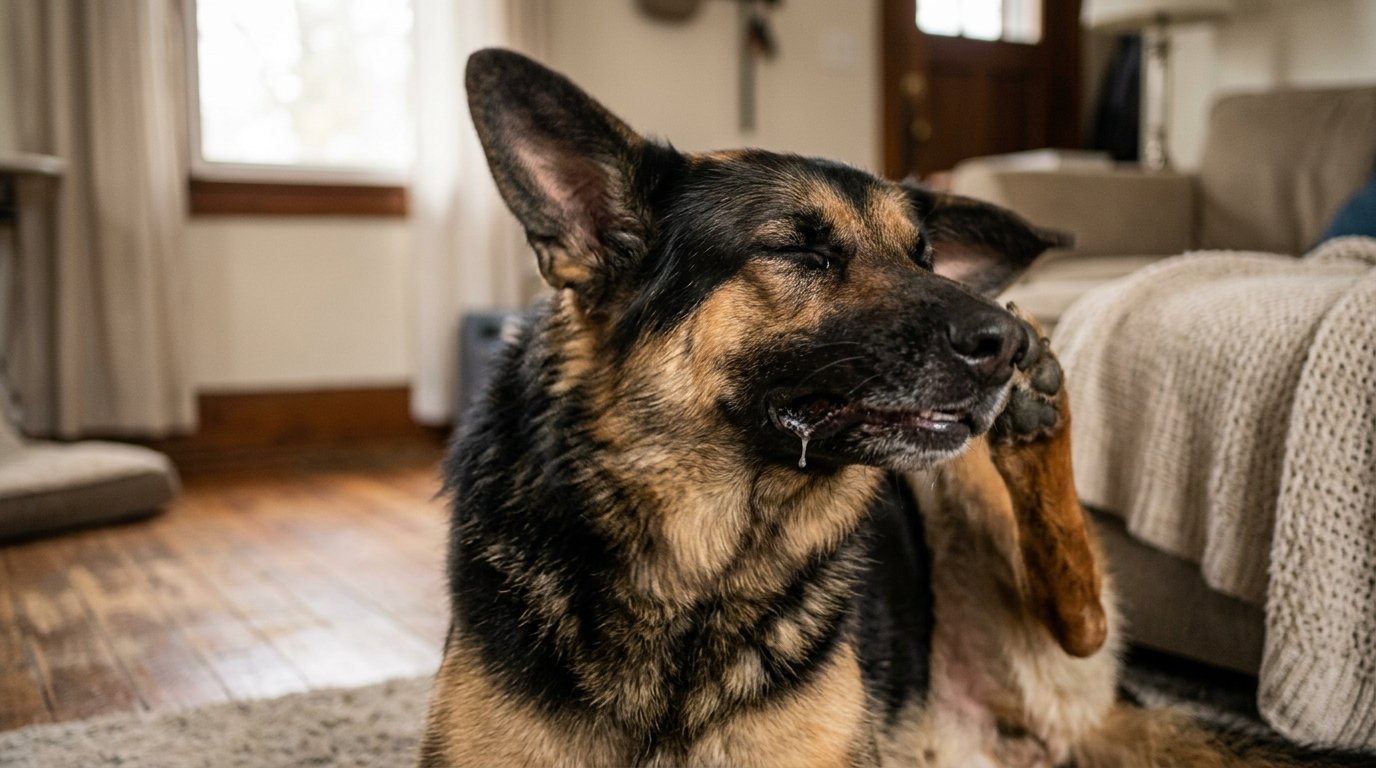
Dog Paw Pad Injury: First Aid, Flap Treatment & Healing Time
How to treat a dog paw pad injury at home — stopping bleeding, handling a paw pad flap, bandaging, and what the healing timeline looks like. Plus when you need a vet.
Published 2026-04-18
Paw pads take a beating. They protect your dog from rough ground, hot pavement, ice, rocks, and broken glass — but they aren't invincible. When a paw pad gets cut, torn, or develops a "flap" of loose pad tissue, knowing what to do in the first few minutes makes a real difference in how fast it heals (and whether you end up at the emergency vet).
Types of Paw Pad Injuries
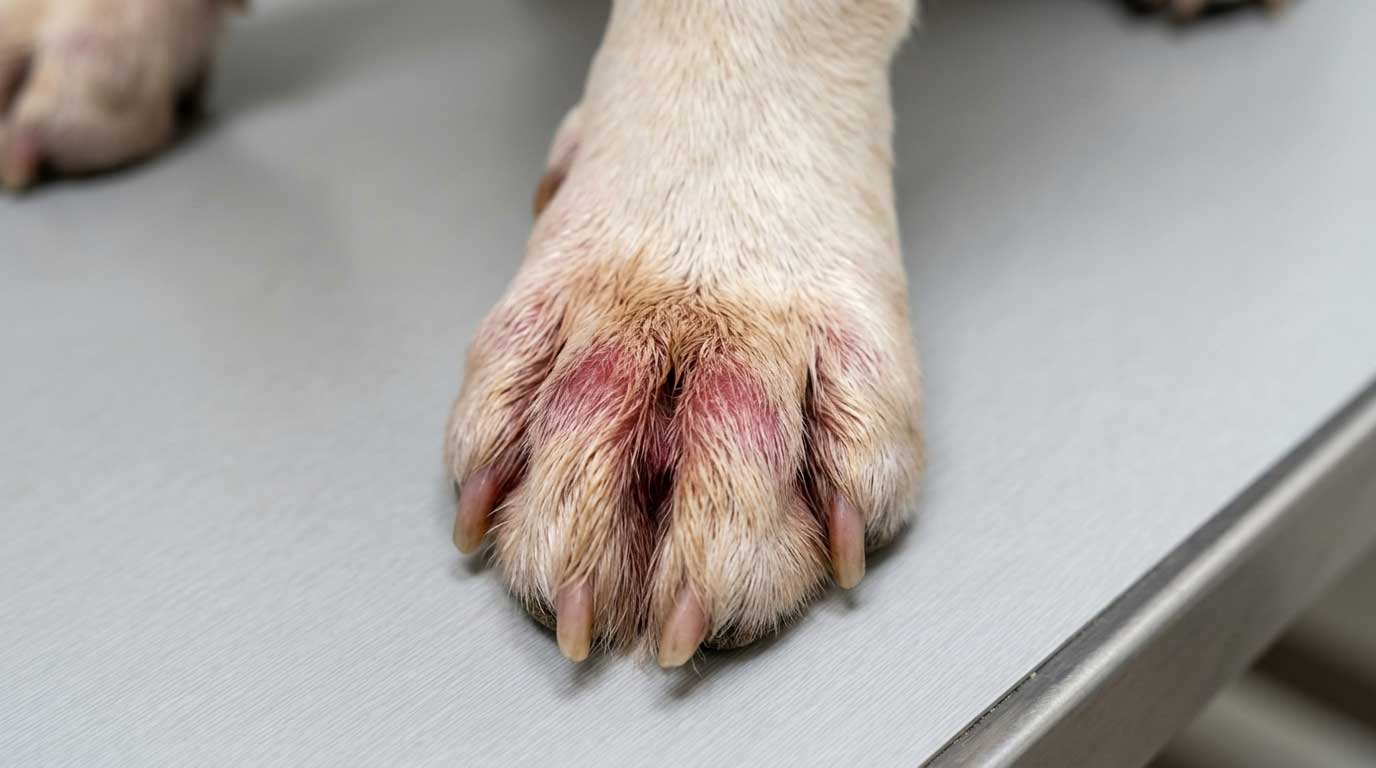
- ✓Surface cut or scrape — the top layer of pad is scratched or sliced
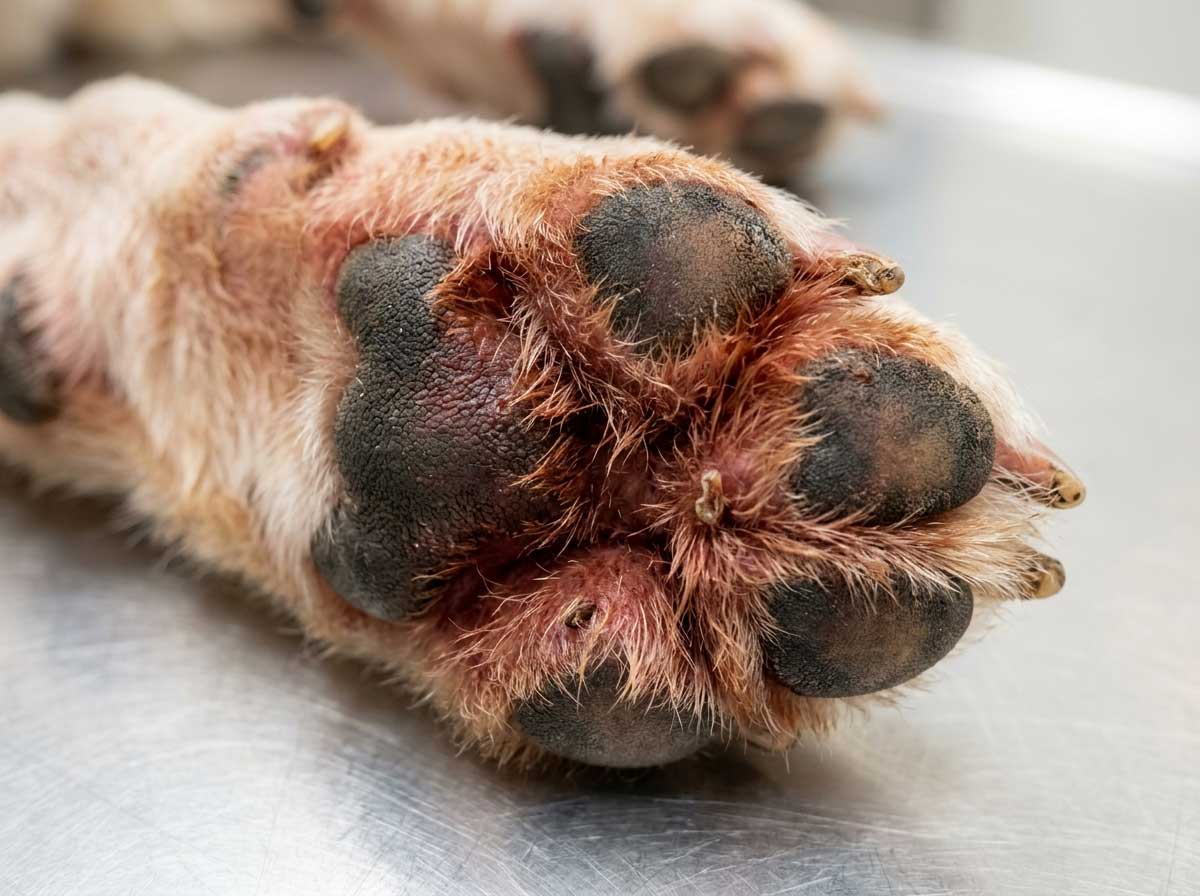
- ✓Deep laceration — cuts through multiple layers of the pad, exposing pink tissue
- ✓Pad flap — a piece of pad is partially torn but still attached
- ✓Completely avulsed (torn off) pad — rare but serious, exposes nerves and fat
- ✓Burn — from hot pavement, chemicals, or ice-melt salt
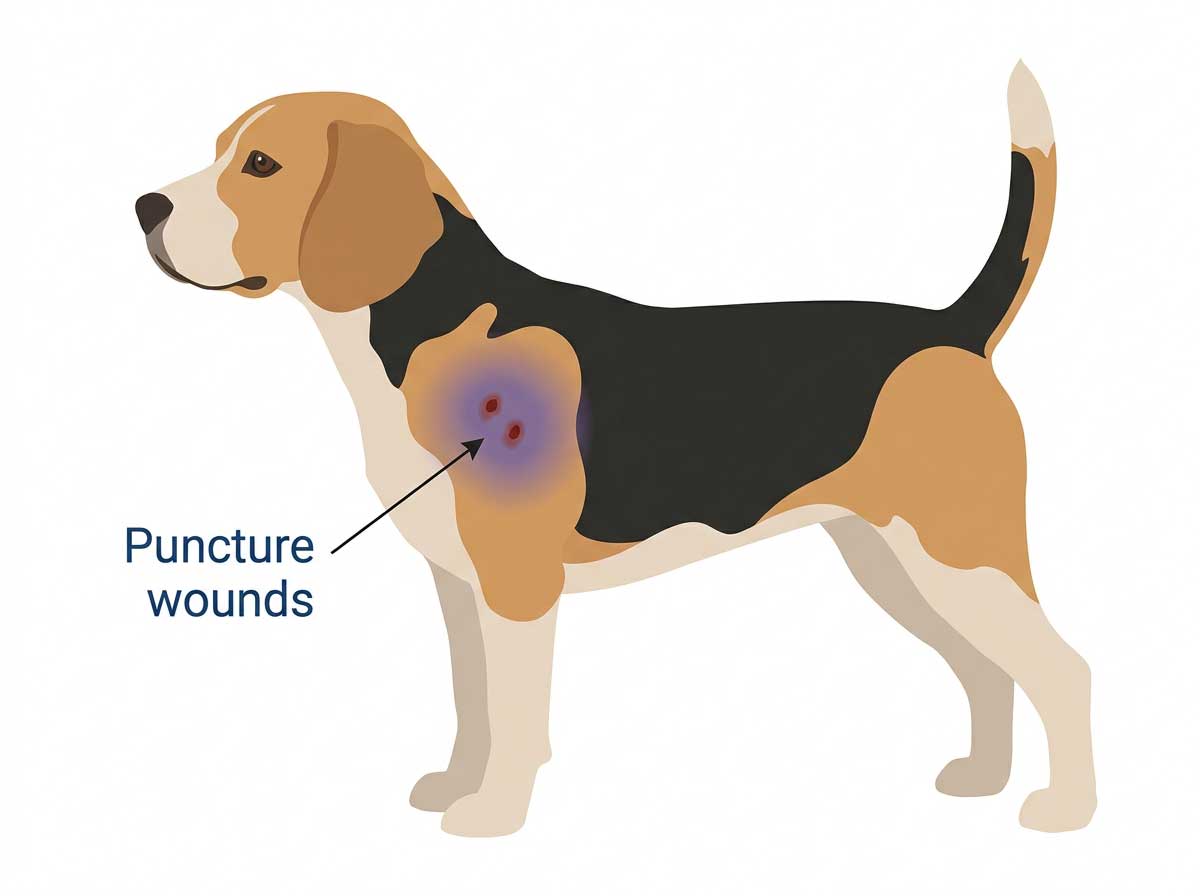
- ✓Puncture wound — from glass, nails, stickers, or sharp objects
First Aid: What to Do Right Away
Step 1: Stop the Bleeding
Paw pads bleed a lot — don't panic. Apply firm pressure with gauze or a clean cloth for 5-10 minutes straight (don't keep peeking to see if it's stopped — that reopens the wound). For stubborn bleeding, wrap with vet wrap or an Ace bandage over the gauze, but not too tight. If bleeding hasn't stopped after 10-15 minutes of firm pressure, go to the vet.
Step 2: Clean the Wound
Rinse with clean lukewarm water or saline solution to flush out debris. Do NOT use hydrogen peroxide — it damages healing tissue and actually slows recovery. Good options: sterile saline, diluted chlorhexidine (weak tea color), or plain clean water. Pat dry with gauze (don't scrub).
Step 3: Assess the Damage
Look at what you're dealing with:
- ✓Surface scrape with just the outer pad scratched → home care likely fine
- ✓Cut that's deeper than the outer pad layer → vet visit recommended
- ✓Flap of pad tissue hanging loose → vet visit — may need gluing or stitching
- ✓Bleeding won't stop after 15 minutes of pressure → emergency vet
- ✓Fat or deeper tissue visible → emergency vet
- ✓Longer than half an inch → vet visit
- ✓On a joint or between toes (constantly moving, hard to heal) → vet visit
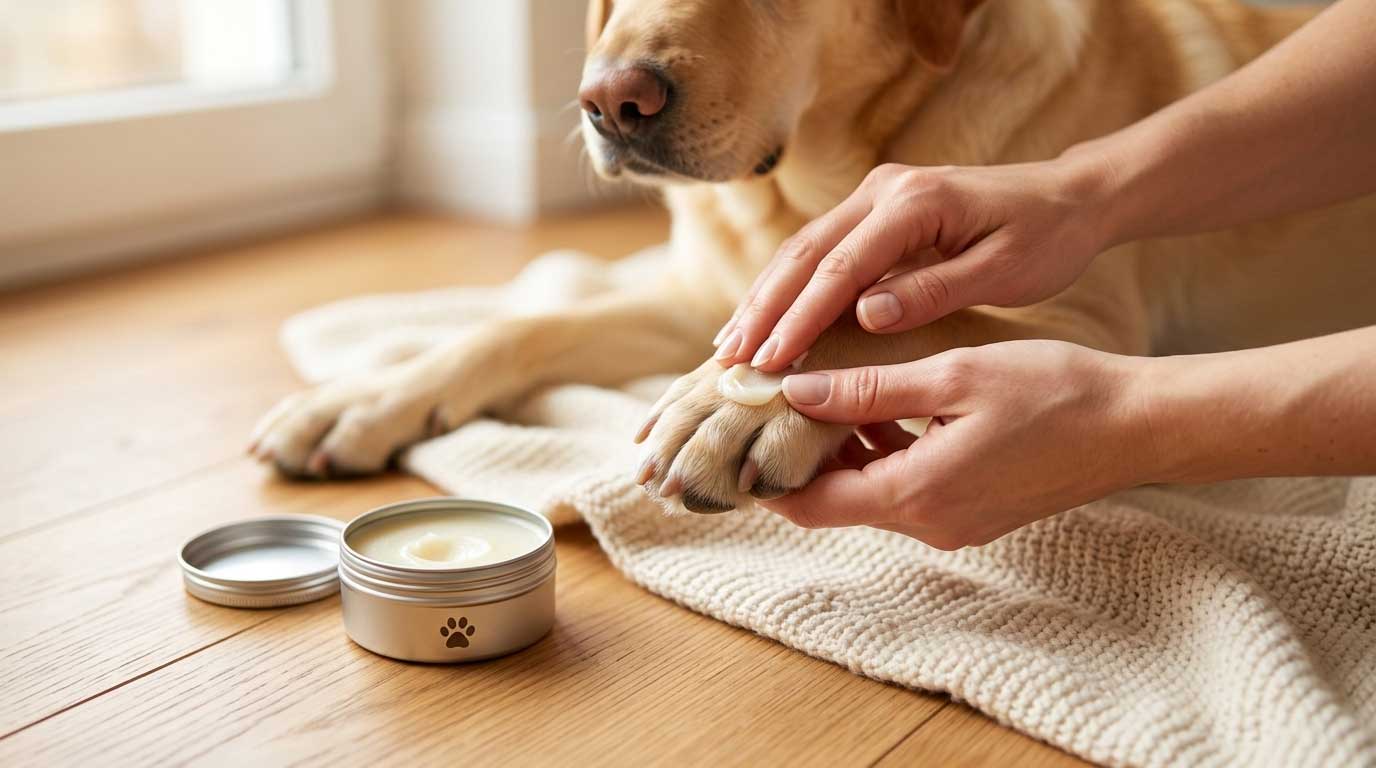
Step 4: Bandage (for home-treatable injuries)
Apply a thin layer of pet-safe antibiotic ointment (Neosporin without pain reliever is fine short-term, or ask your vet for a pet-specific version). Cover with a sterile non-stick gauze pad, wrap with gauze rolling, then secure with vet wrap. Don't wrap so tight that you cut off circulation — you should be able to fit a finger underneath. Check the bandage 2-3 times a day for wetness, slippage, or swelling above the wrap.
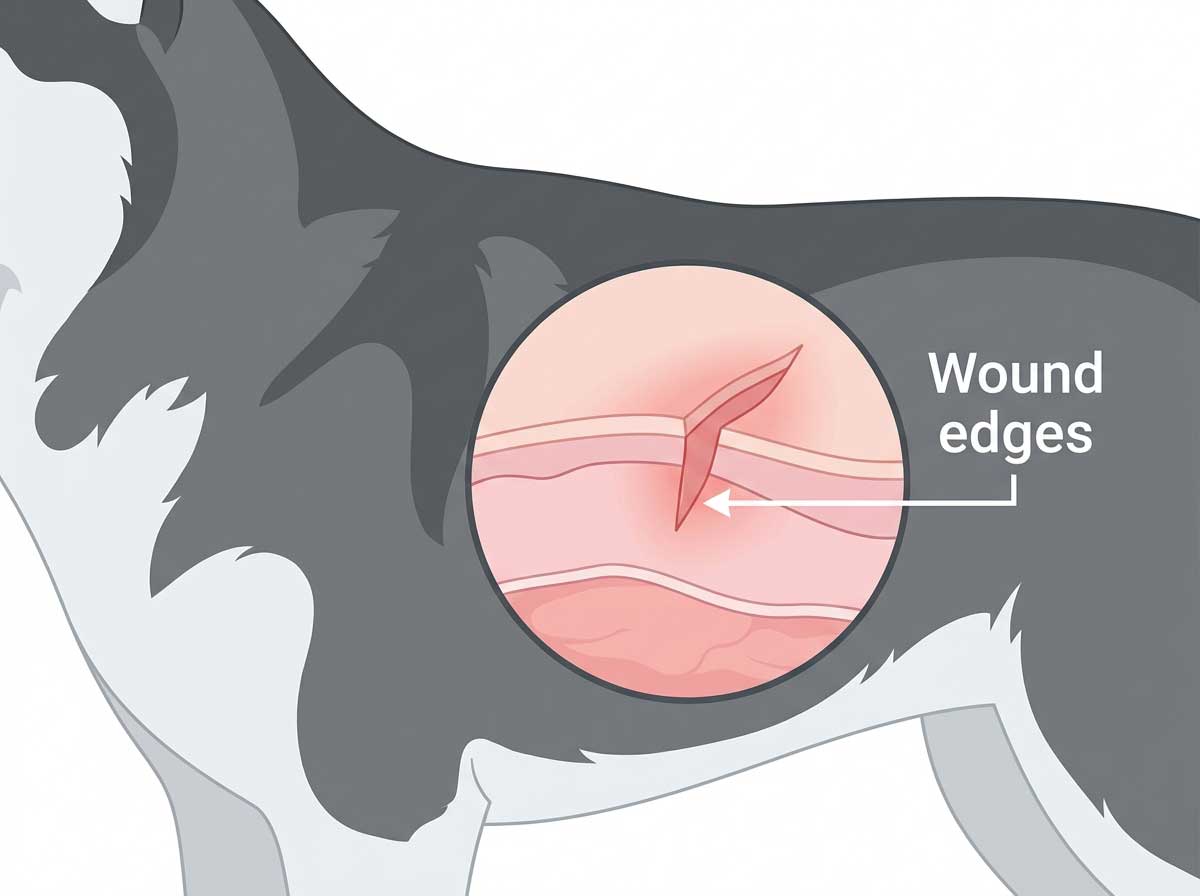
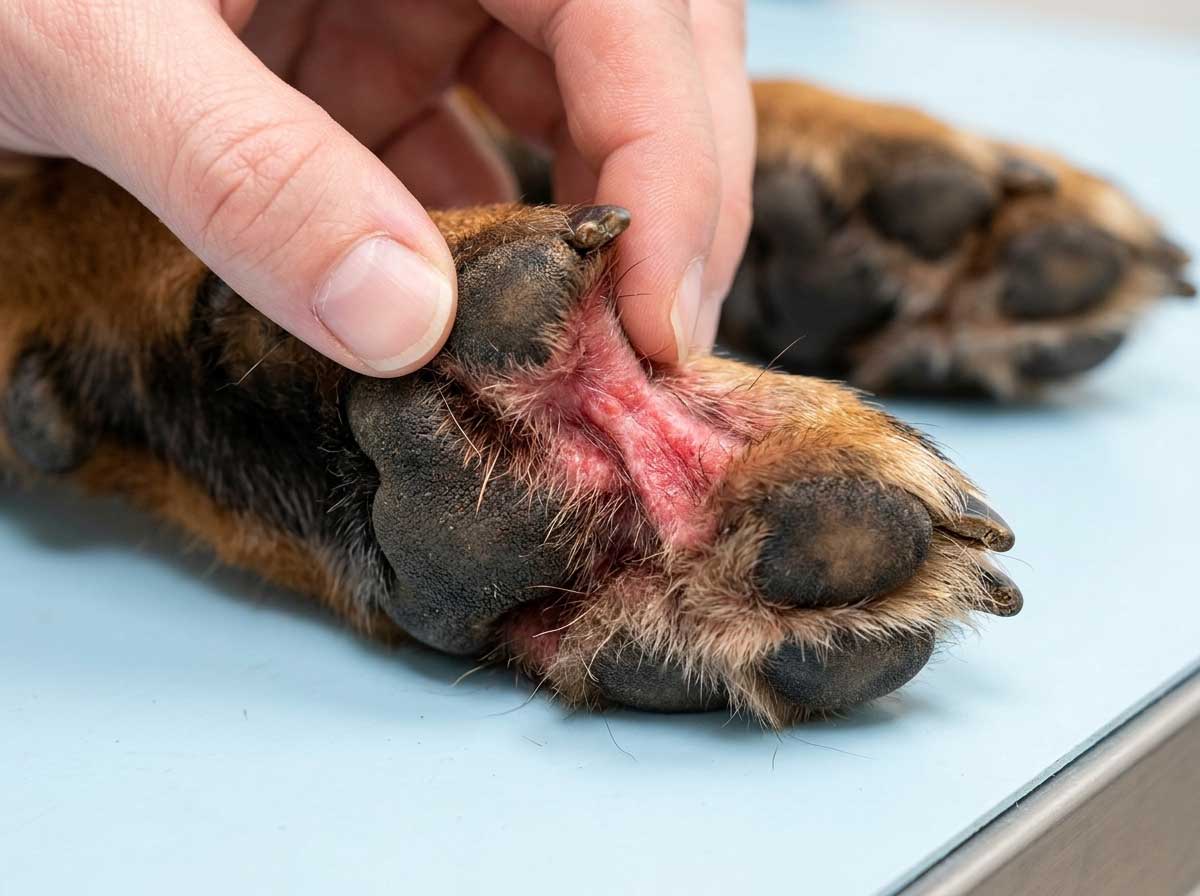
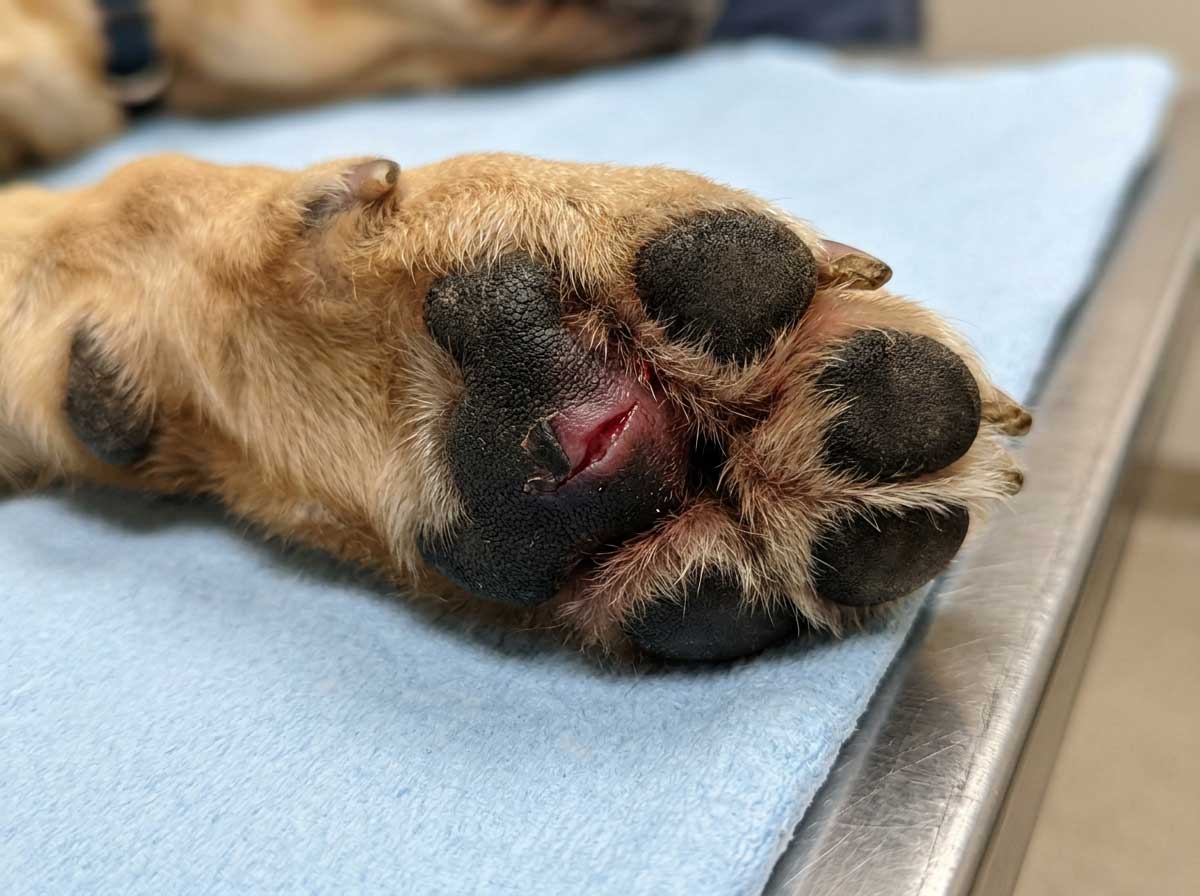
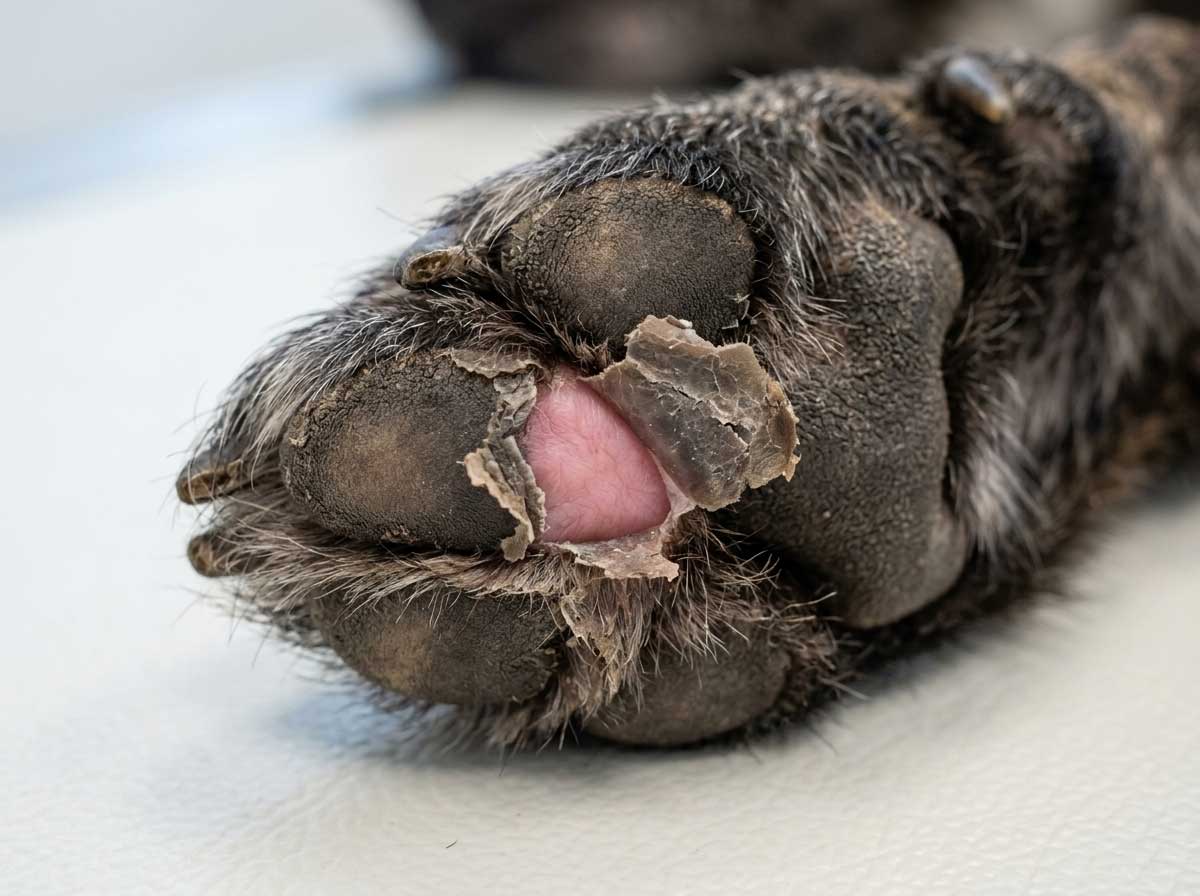
What About a Paw Pad Flap?
A "flap" — where a piece of pad is torn but still attached — is one of the most common paw pad injuries. Don't cut it off yourself. If the flap is small, clean, and still has good blood supply, a vet can often glue or stitch it back into place where it will heal as part of the original pad. Cutting it off at home means your dog grows back a thinner replacement pad with scar tissue. Keep the flap in place, bandage it, and head to the vet within 24 hours.
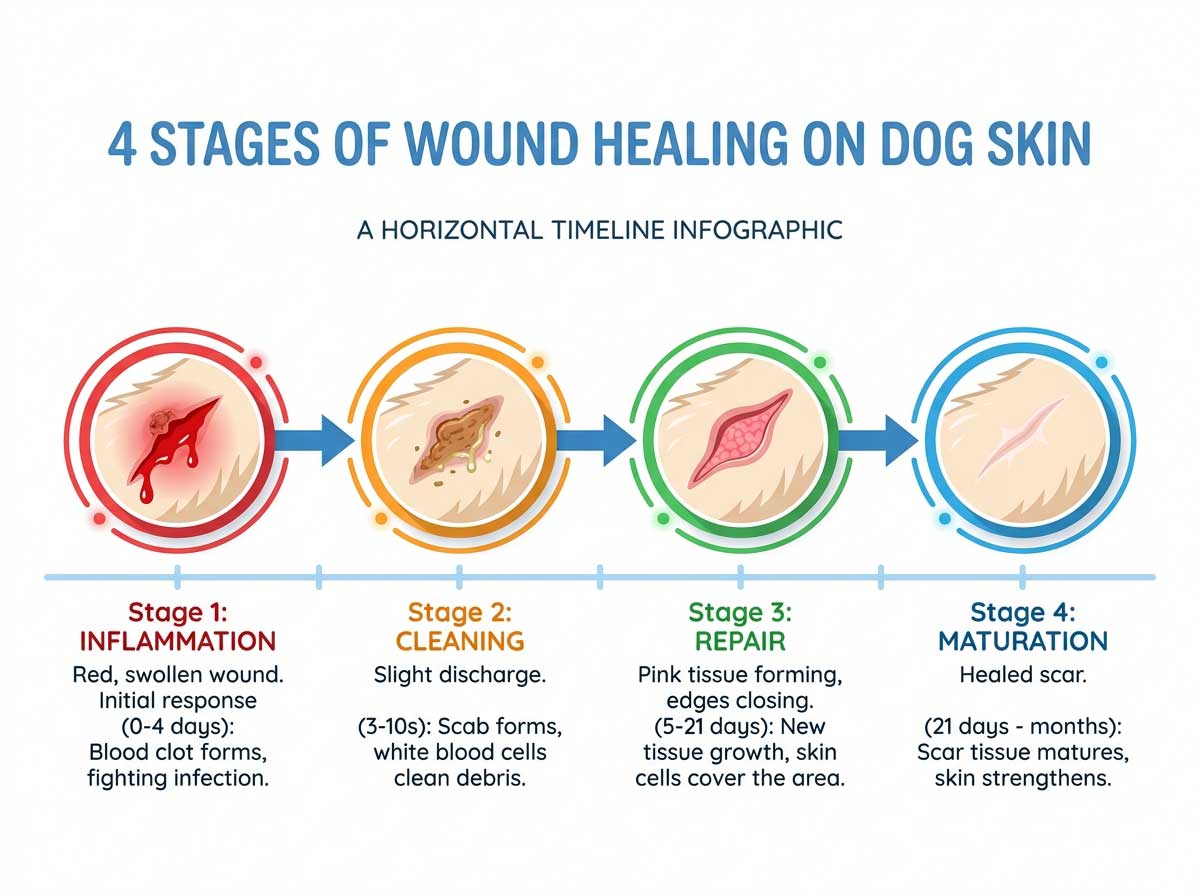
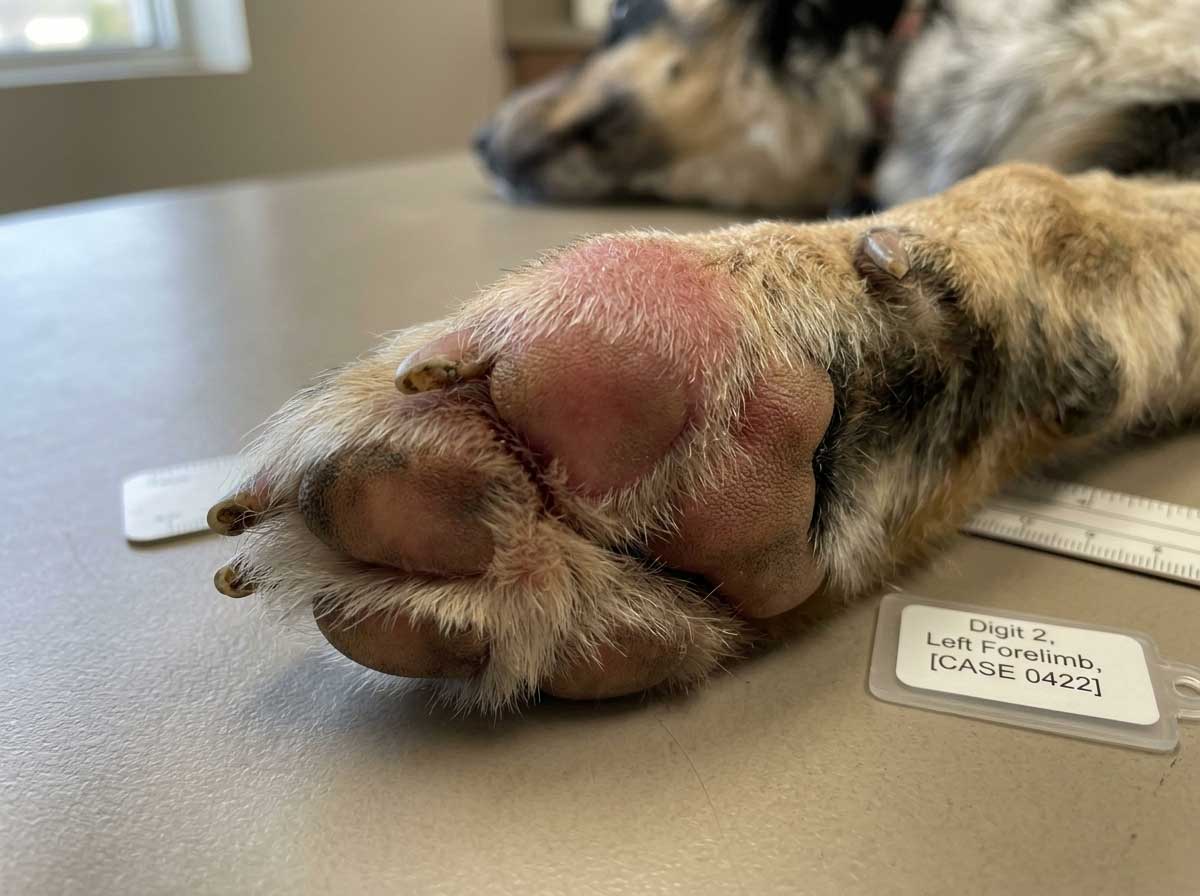
Healing Timeline: What to Expect
- ✓Day 1-3: inflammation, mild swelling, scab starts forming — this is normal
- ✓Day 4-7: scab hardens, edges begin to close, dog is using the paw again cautiously
- ✓Week 2: scab may come off, exposed tissue is pink (new pad growing)
- ✓Week 3-4: surface healing for shallow injuries
- ✓Week 4-8: full pad thickness regeneration for deeper injuries
- ✓Pad will sometimes come back thinner or slightly different-textured — that's normal
Dog paw pad injury healing time depends heavily on depth and whether the dog rests the paw. If your dog keeps running on an injured pad, add weeks to the timeline.
Keeping the Paw Clean During Healing
- ✓Change the bandage daily or every other day — more often if it gets wet or dirty
- ✓Check for signs of infection: increasing redness, swelling, pus, bad smell
- ✓Keep your dog on leashed potty breaks — no running or roughhousing
- ✓Use a boot or plastic bag over the bandage for outdoor bathroom breaks
- ✓E-collar is essential — licking introduces bacteria and delays healing by 50%+
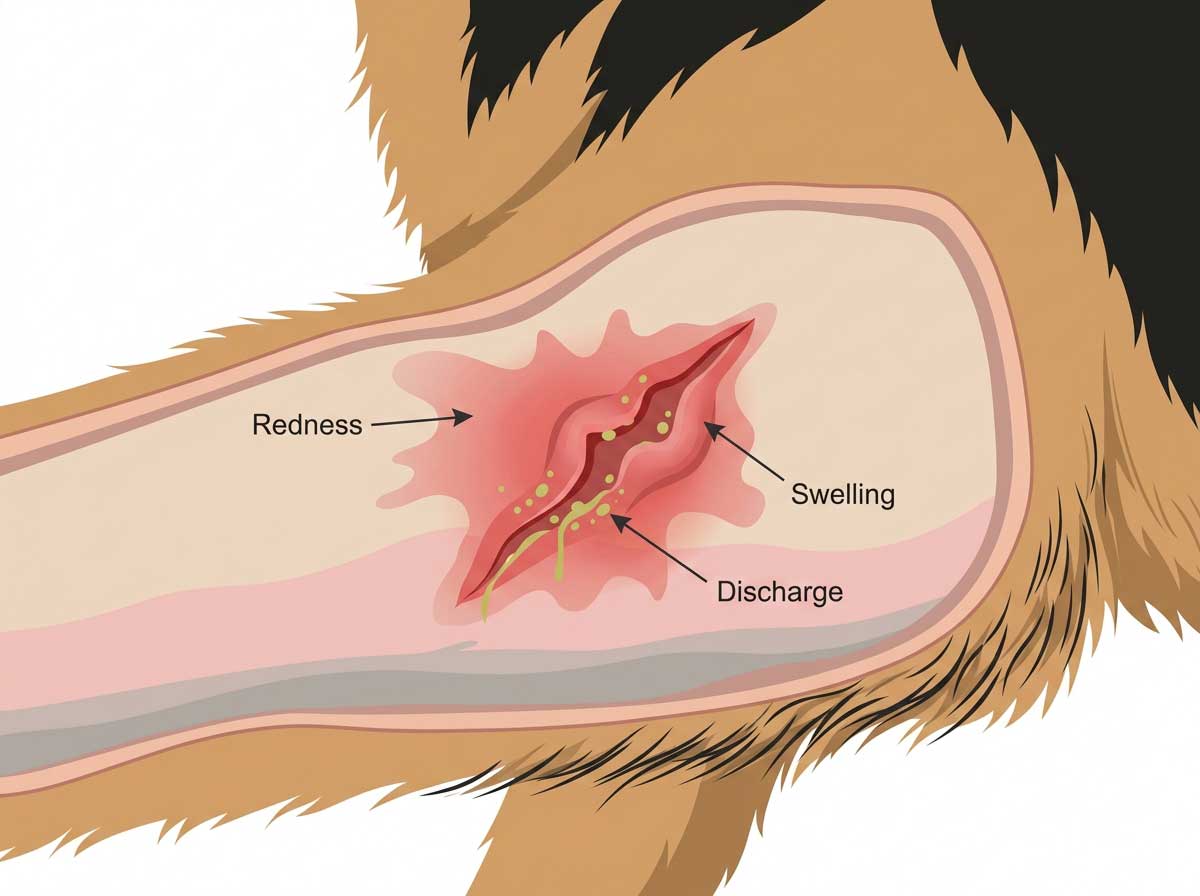
Signs of Infection During Healing
Go to the vet right away if you see:
- ✓Swelling that's increasing instead of decreasing
- ✓Red streaks spreading outward from the wound
- ✓Yellow, green, or thick discharge
- ✓Foul smell from the wound
- ✓The wound looks worse than yesterday, not better
- ✓Your dog develops fever (normal dog temp is 101-102.5°F)
- ✓Lethargy or loss of appetite
When You Should Skip Home Care
Go directly to a vet (don't pass go) if:
- ✓Cut is deeper than surface-level
- ✓There's a pad flap that won't lie flat
- ✓You can see fat, muscle, or anything beneath the pad
- ✓Bleeding doesn't stop after 10-15 minutes of firm pressure
- ✓The injury is on a paw your dog won't bear weight on
- ✓It's a puncture wound (glass, nail, splinter)
- ✓It's a burn — chemical or thermal burns look worse on day 2-3
Not sure how serious the injury is? A photo assessment can help you decide whether home care is safe or if you should head to the vet.
Need Help Assessing the Injury?
Upload a photo of the paw pad injury and get AI analysis of severity and recommended next steps.
Disclaimer: This article is for informational purposes only and is not a substitute for professional veterinary advice. Always consult a licensed veterinarian for diagnosis and treatment of your pet's health conditions.