Dog Broken Nail Home Treatment: What Actually Works (And What Doesn't)
Complete home treatment guide for dog broken nails — step-by-step, what supplies to have, common mistakes to avoid, and when home care isn't enough.
Published 2026-04-19

Most minor dog broken nails can be treated at home — no vet visit needed. But "home treatment" ranges from "leave it alone and it'll heal" to "clean it daily for 2 weeks and prevent licking." Here's what actually works vs what's internet myth, organized by severity.
First: Can YOU Treat This at Home?
Home treatment is appropriate for:
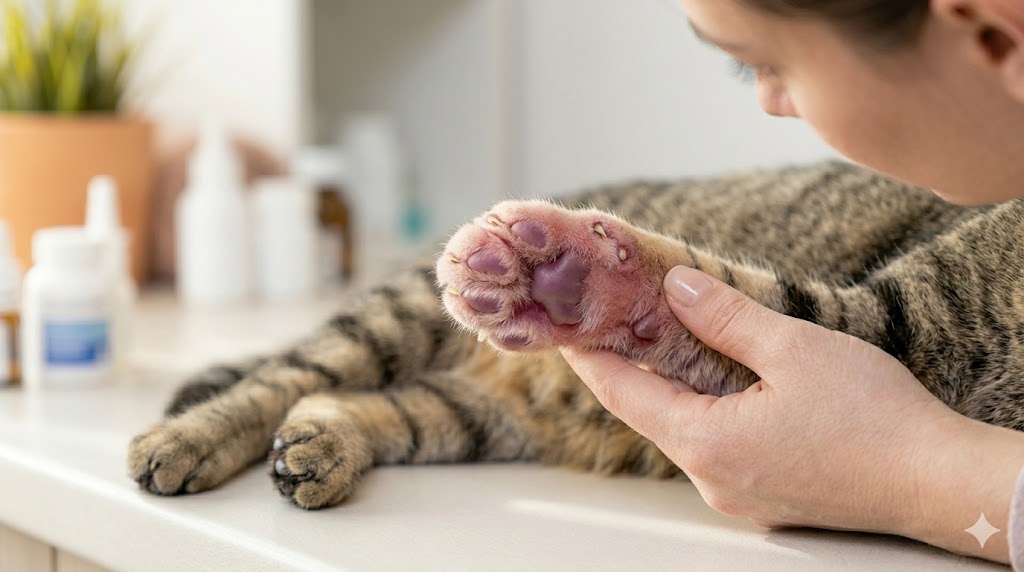
- ✓Small crack or split at nail tip (not reaching the quick)
- ✓Minor break with minimal or controlled bleeding
- ✓No exposed pink quick
- ✓Nail firmly attached (not hanging)
- ✓Dog walking reasonably normally
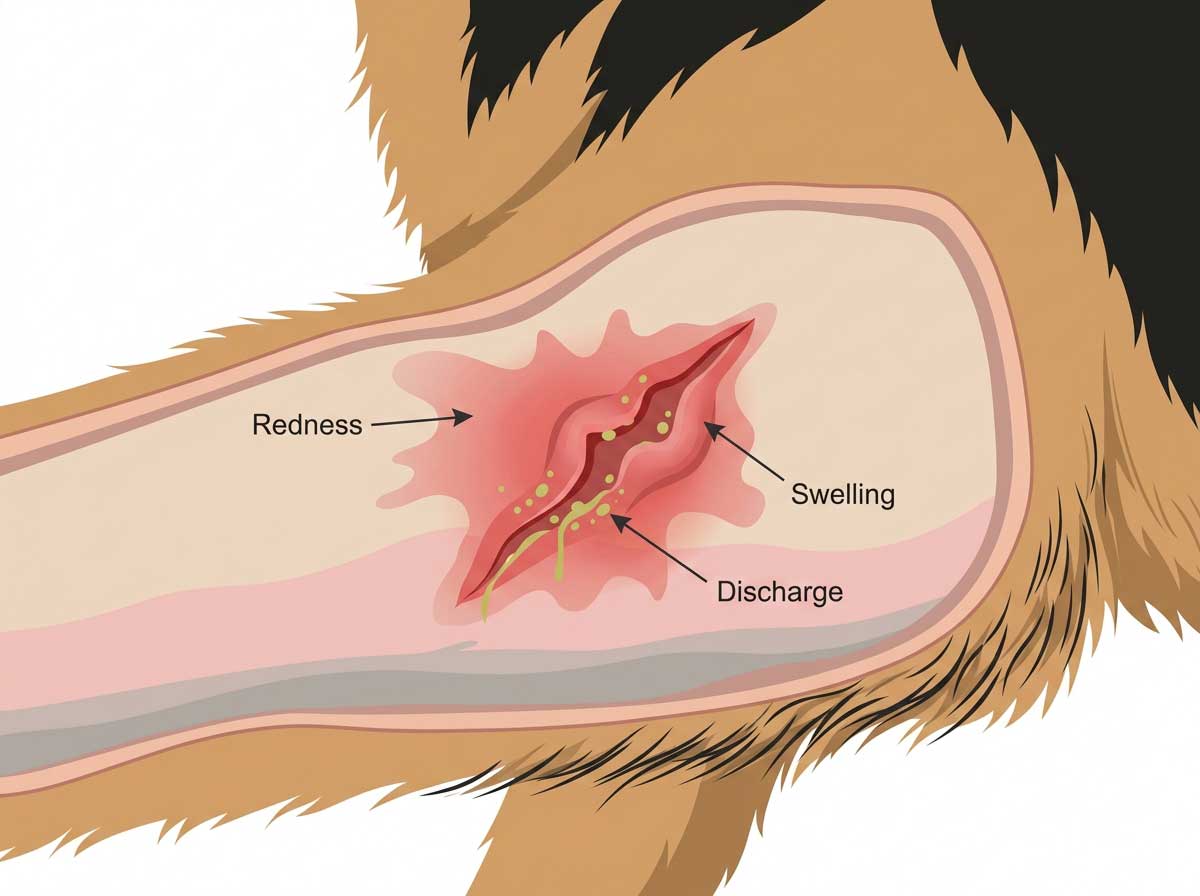
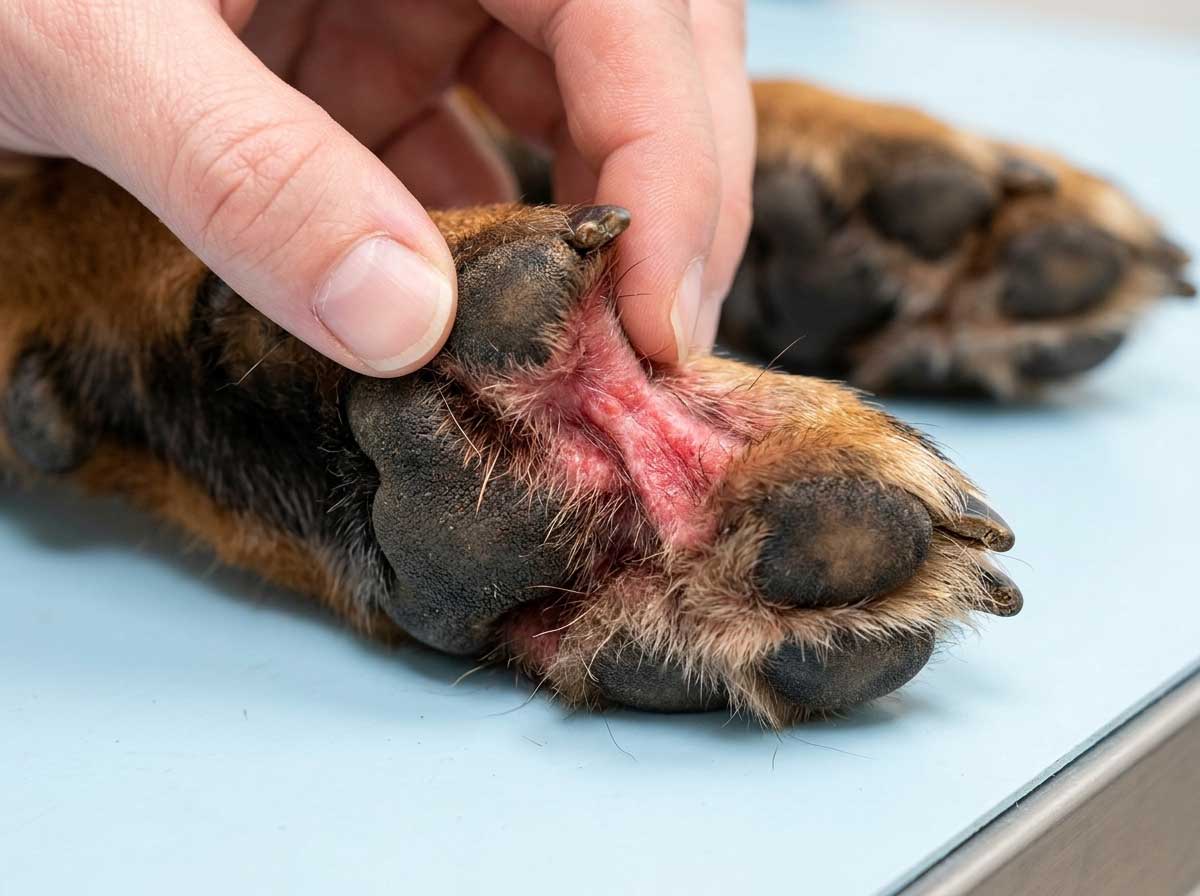
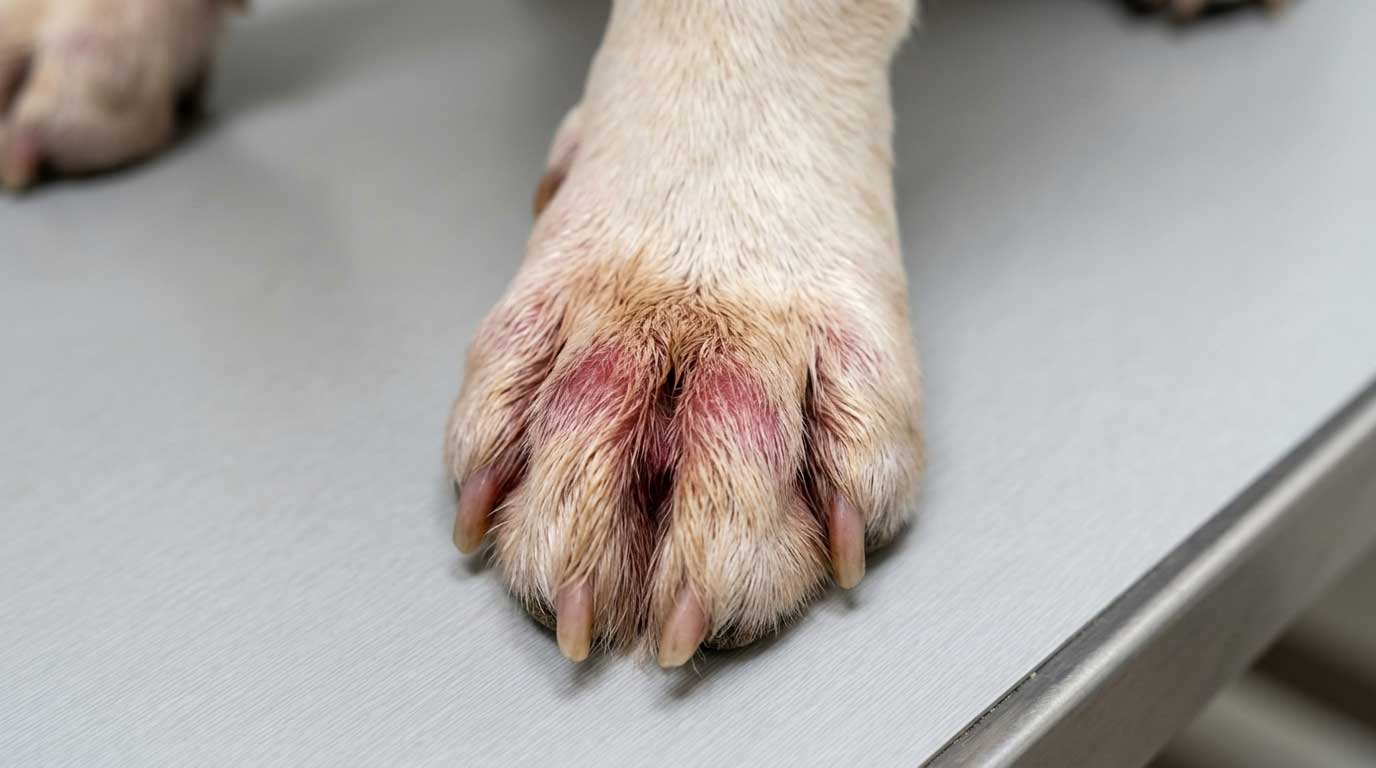
- ✓No signs of infection (no swelling, redness, discharge, bad smell)
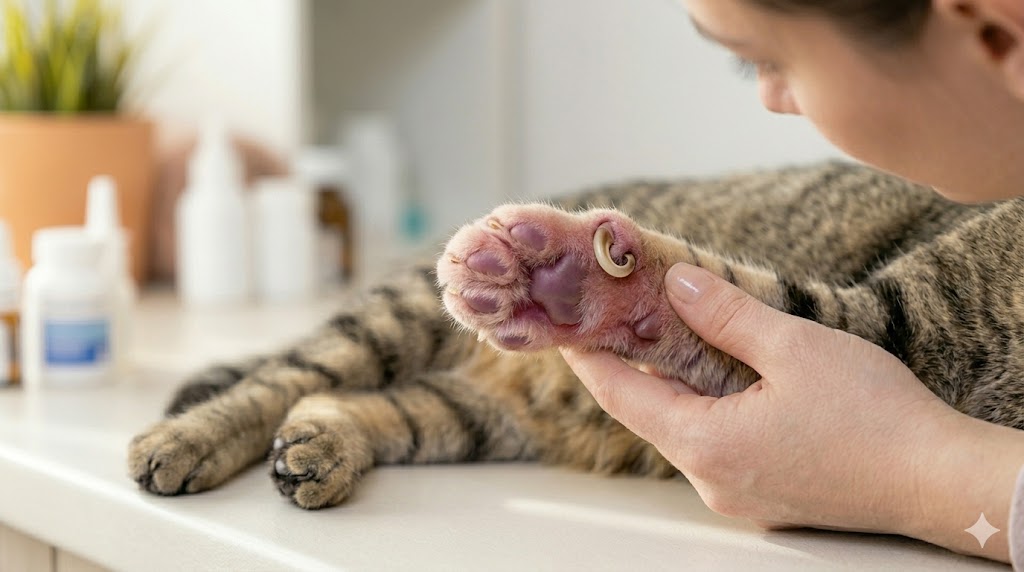
NOT home treatment — vet visit needed if:
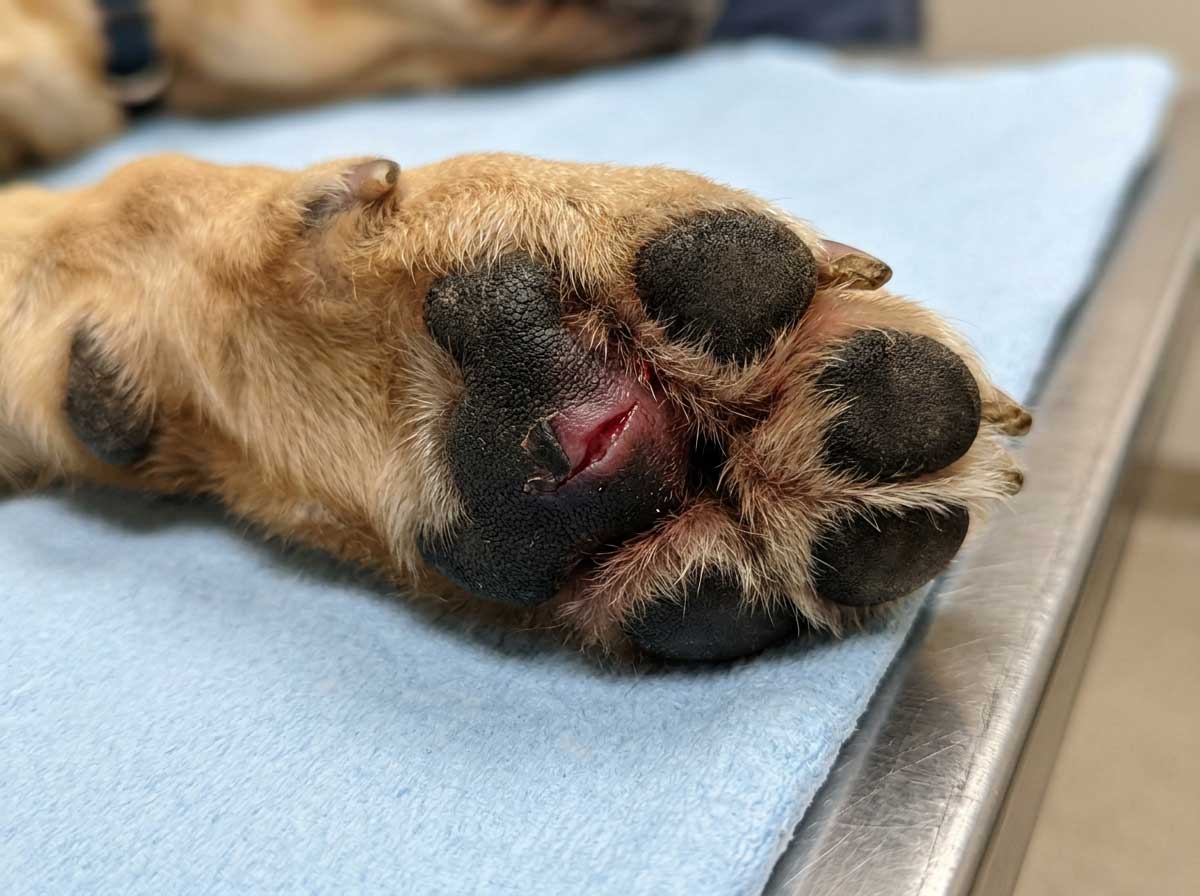
- ✓Nail torn off at base
- ✓Nail hanging by thread (needs proper removal)
- ✓Exposed quick with severe pain
- ✓Bleeding not stopping after 15-20 minutes
- ✓Signs of infection
- ✓Any doubt — vet visits are cheap compared to infected nail bed treatment
Home First-Aid Kit for Dog Nails
Keep these handy for nail emergencies:
- ✓Styptic powder (Kwik Stop, Miracle Care) — $5-10, lasts years
- ✓Dog-specific nail clippers (scissor or guillotine style)
- ✓Nail file or grinder for smoothing edges
- ✓Gauze pads (2x2 or 3x3)
- ✓Self-adhesive vet wrap (different from regular tape)
- ✓Dog-safe antiseptic — diluted chlorhexidine 2% solution
- ✓Clean soft cotton cloths or paper towels
- ✓Old towel for restraint/cleanup
- ✓E-collar (Elizabethan collar)
- ✓Dog treats for rewarding cooperation
Step-by-Step Home Treatment Protocol
Step 1: Control Bleeding (If Any)
See our dedicated bleeding guide. Styptic powder + firm pressure for 30-60 seconds. Wait for complete clot formation before moving on.
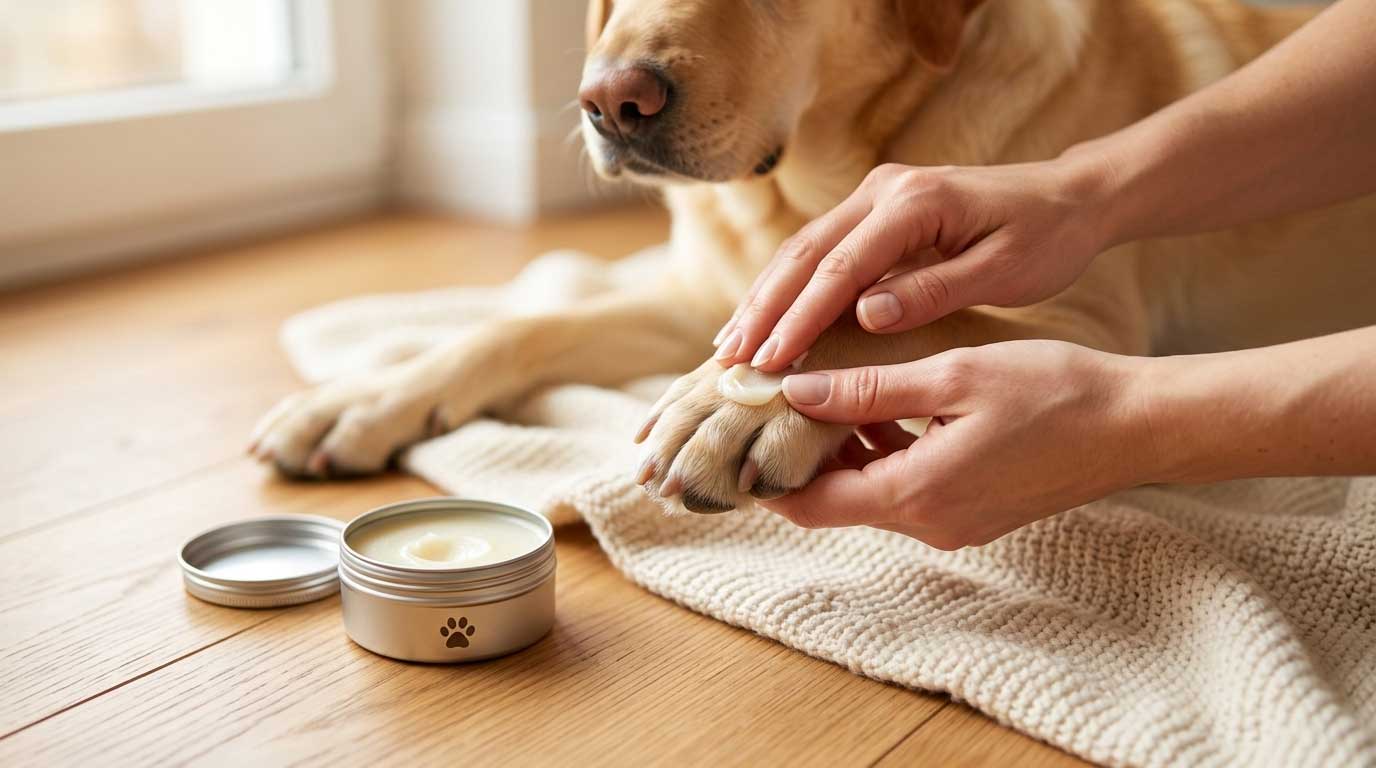
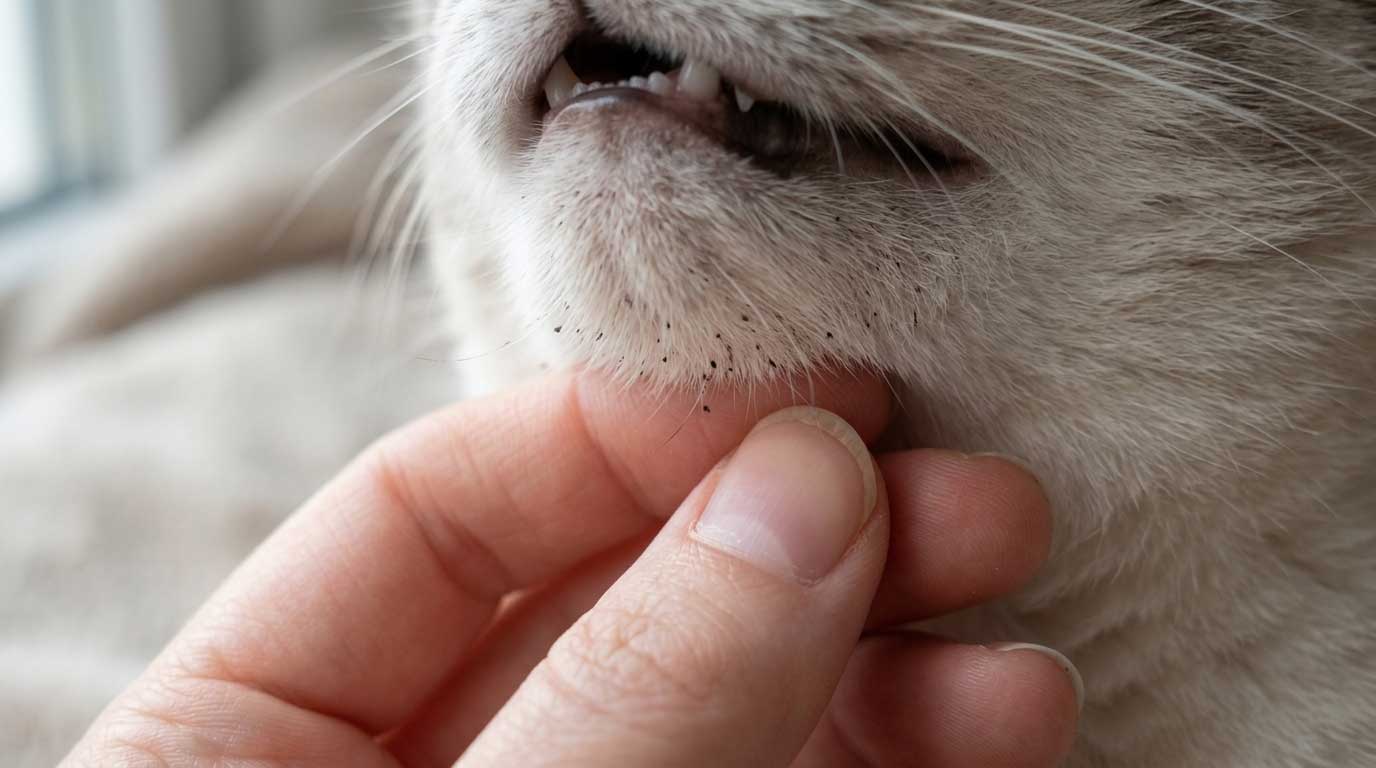
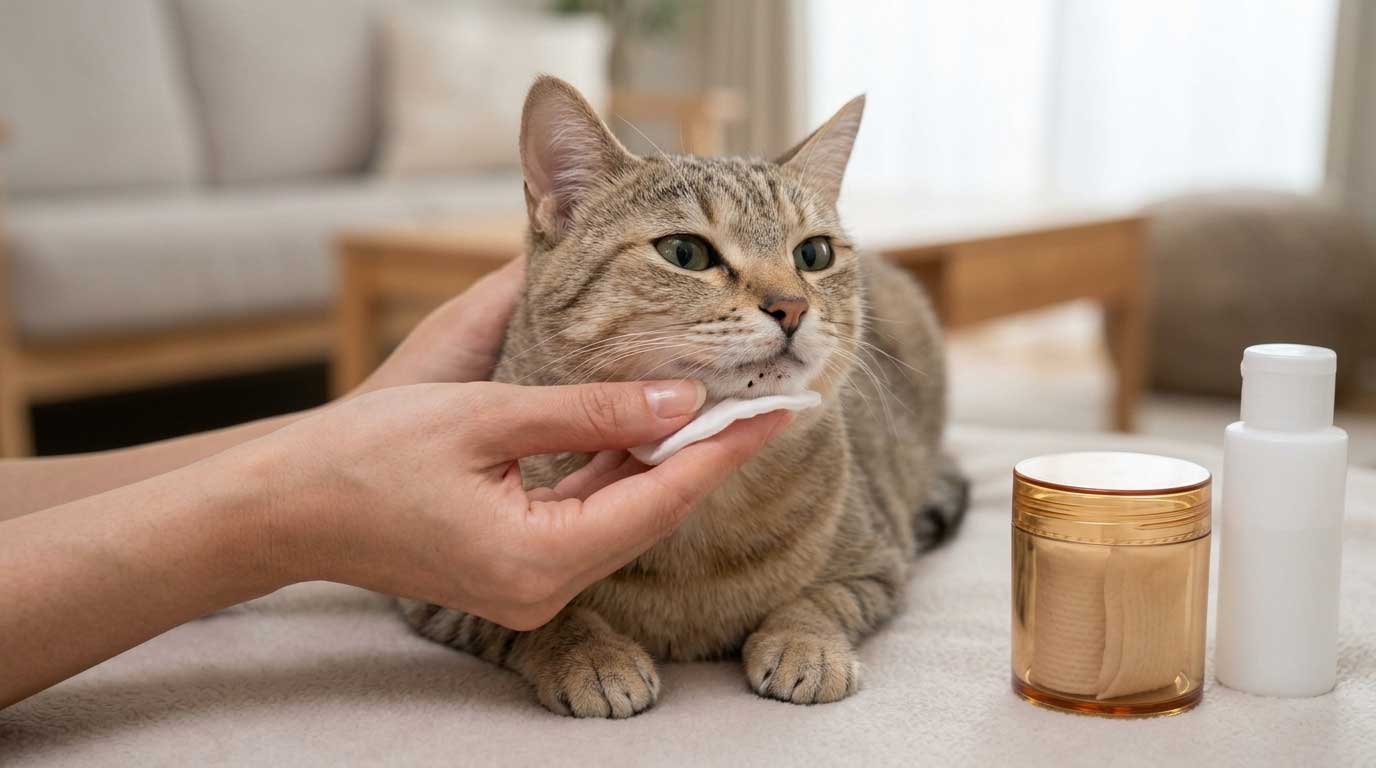
Step 2: Clean the Area
Once bleeding stops:
- ✓Use warm water or diluted chlorhexidine (2% solution) with cotton or gauze
- ✓Gently wipe around the affected nail and paw
- ✓Do NOT use hydrogen peroxide — it damages healing tissue
- ✓Do NOT use alcohol — too irritating
- ✓Thoroughly dry the area
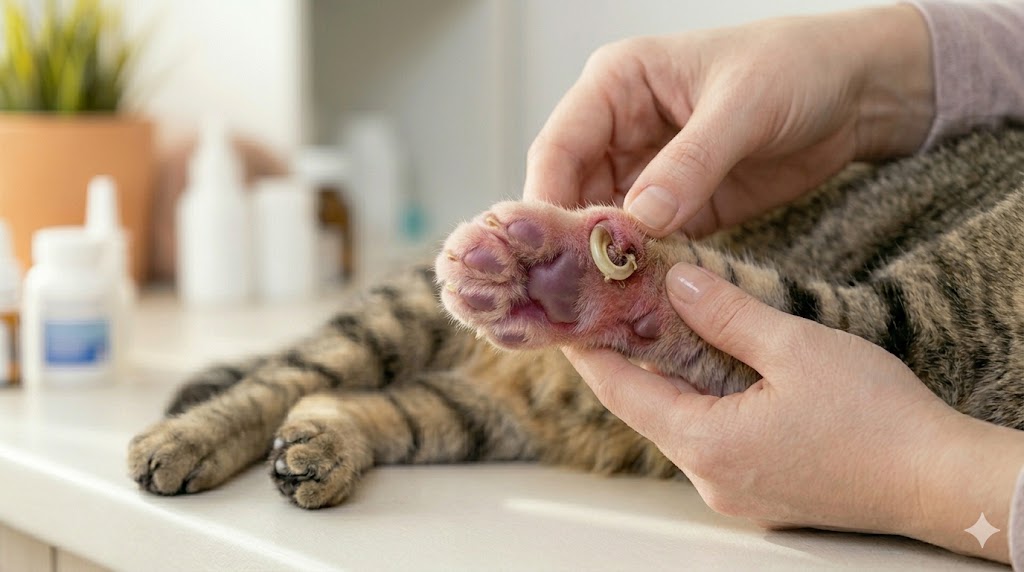
Step 3: Trim Damaged Portion (Optional)
If the broken edge is sharp, ragged, or could catch on things:
- ✓Use clean dog nail clippers (guillotine style often easier for emergencies)
- ✓Snip only the obviously damaged part — do NOT trim into the quick
- ✓If you can see the quick, stop several millimeters above it
- ✓File smooth with a nail file if edges are rough
- ✓If you're unsure where the quick is, don't trim — leave the broken nail alone and let it grow out
Step 4: Bandage or Not?
Light bandage is optional for most minor breaks. USE a bandage if:
- ✓Dog will be walking outside in dirt/grass
- ✓Quick is slightly exposed and vulnerable
- ✓Dog tries to lick repeatedly
How to bandage:
- ✓Place gauze pad over the area
- ✓Wrap with self-adhesive vet wrap (NOT human tape/bandaids)
- ✓Wrap loosely enough to fit 2 fingers under
- ✓Include one toe above the wrap end for circulation check
- ✓Change daily, or when wet/soiled
- ✓Remove overnight to let air dry
DO NOT USE: human bandaids, duct tape, electrical tape — all can cause circulation problems.
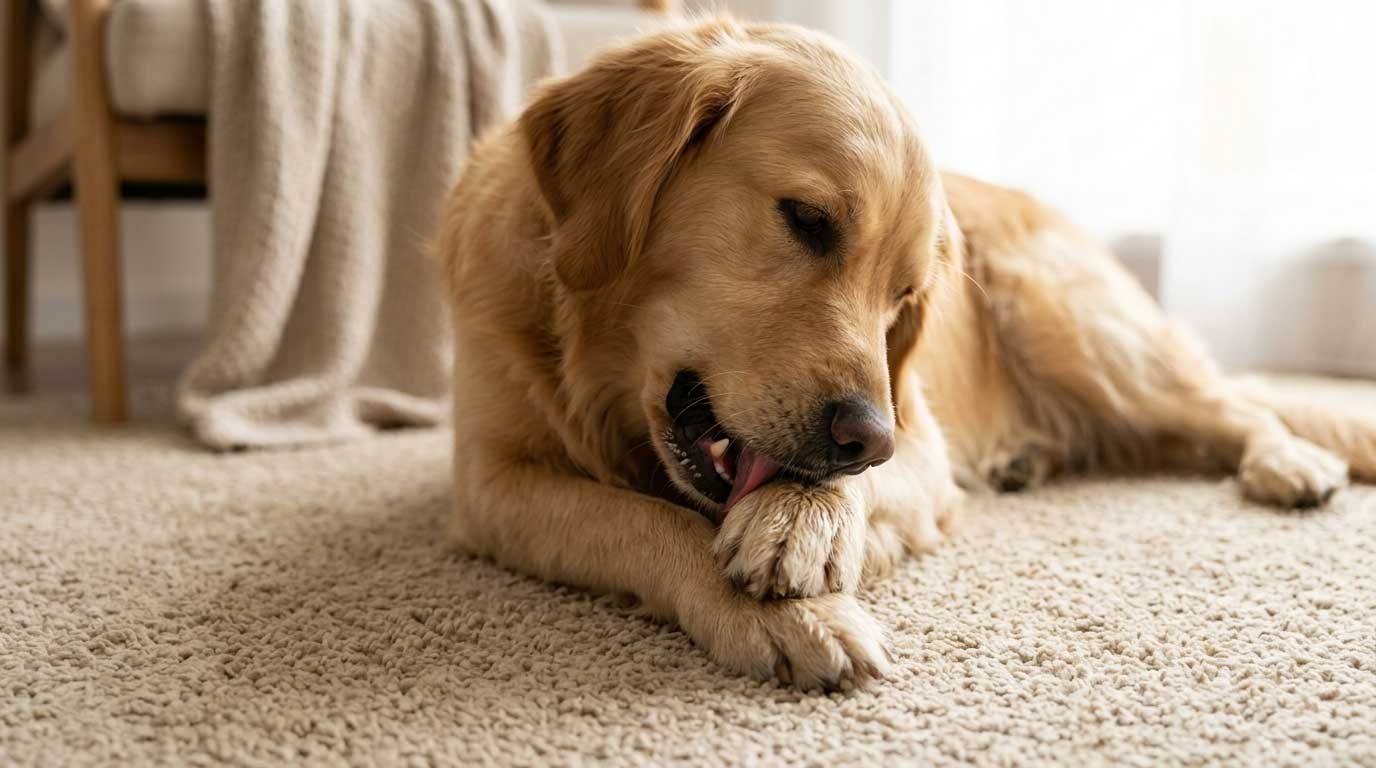
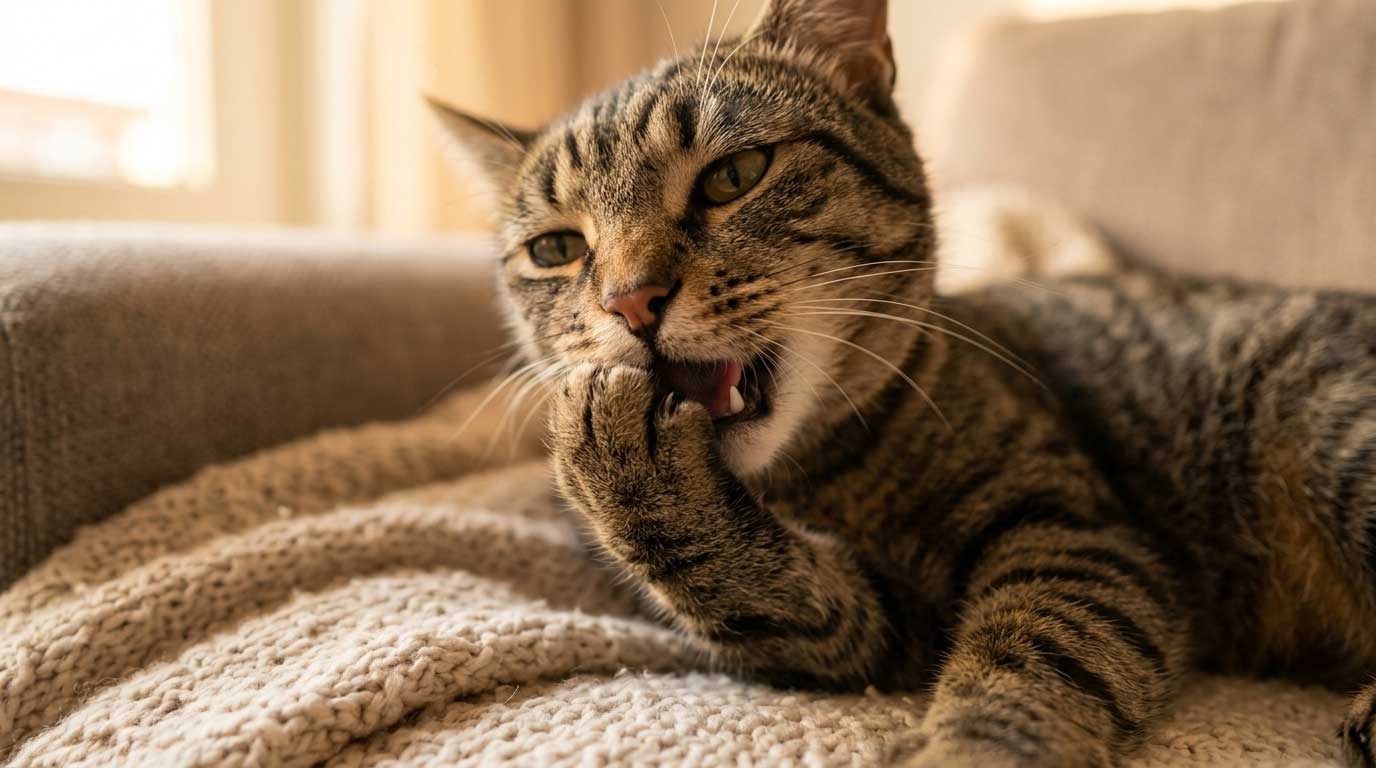
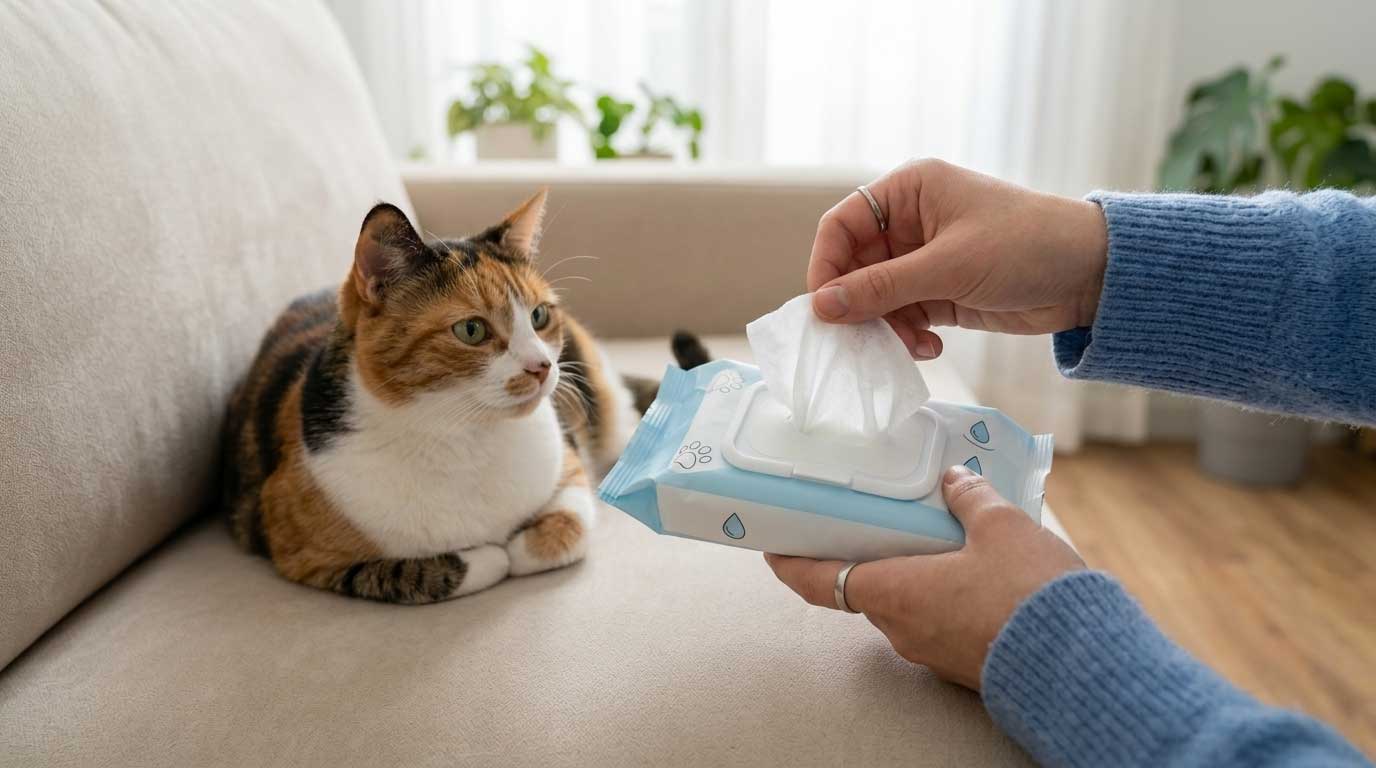
Step 5: Prevent Licking
Licking is the #1 reason "home treatment" fails. Saliva:
- ✓Introduces bacteria (dog mouths are NOT "cleaner than humans")
- ✓Keeps the area constantly wet — prevents drying and clotting
- ✓Mechanically loosens the remaining nail and damages new nail bed
Solutions:
- ✓E-collar (Elizabethan collar / "cone of shame") — most effective; use for 2-5 days
- ✓Inflatable collar — less restrictive, works for most dogs
- ✓Bitter apple spray on bandage (not on open tissue)
- ✓Distraction with treats or toys when licking starts
- ✓Some dogs tolerate a cotton sock with vet wrap over their paw
Step 6: Monitor Daily for 7-10 Days
Check the nail every day. Good signs:
- ✓Dog walking more normally day by day
- ✓Area looks dry and clean
- ✓No new swelling or redness
- ✓Broken nail portion solidifying or new growth appearing
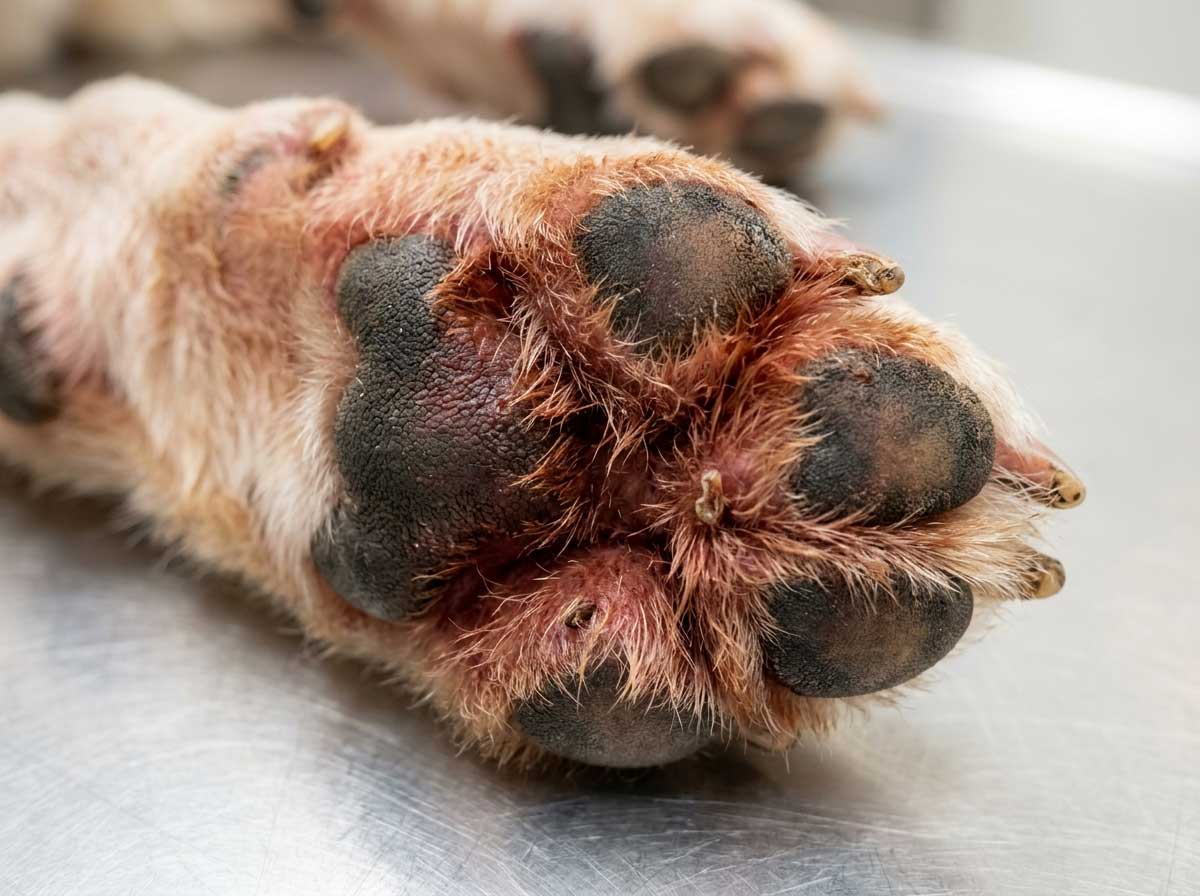
WARNING signs — see a vet:
- ✓Increasing swelling or redness
- ✓Any discharge (yellow, green, cloudy)
- ✓Bad smell from the paw
- ✓Dog's limping getting WORSE rather than better after day 3
- ✓Dog seems unwell (lethargy, fever, decreased appetite)
- ✓New bleeding with no new trauma
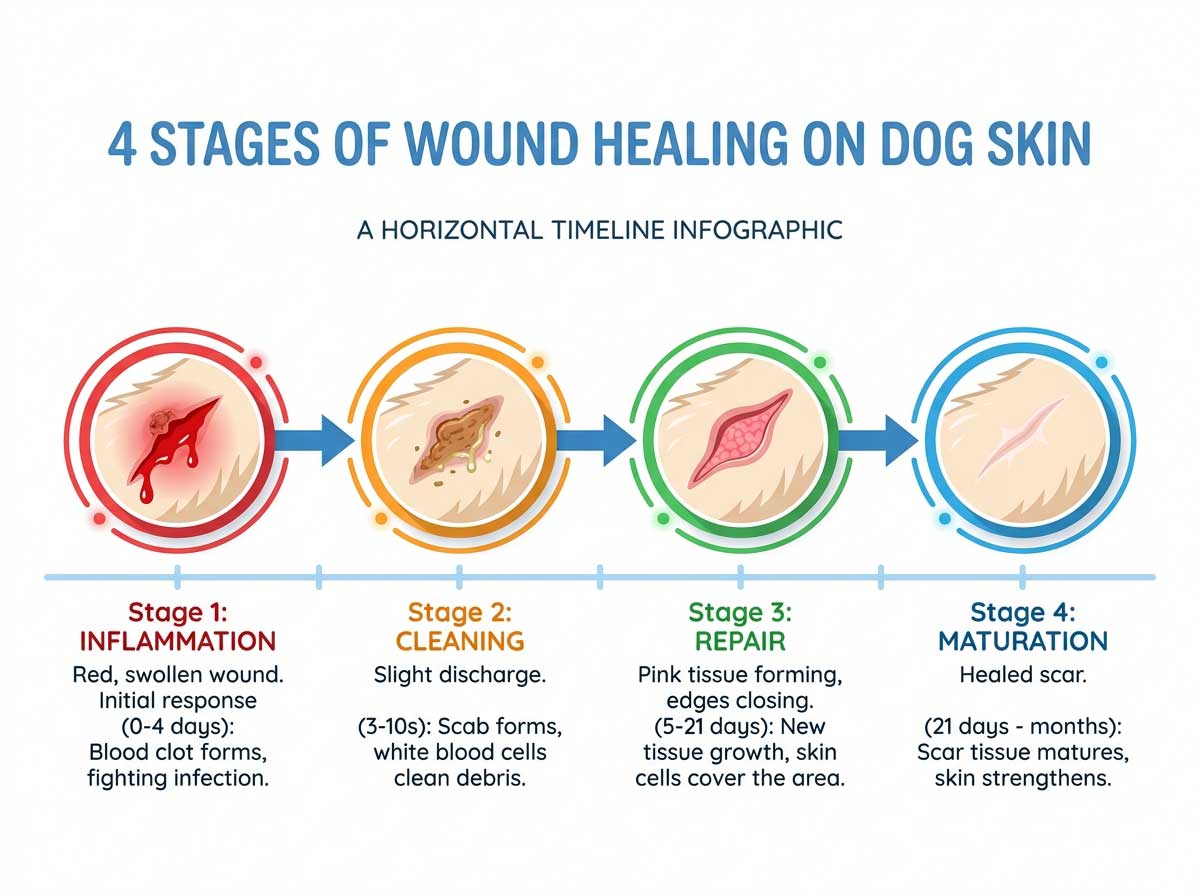
Healing Timeline
- ✓Days 1-3: soreness, mild limping; bleeding stops within first hour
- ✓Days 3-7: comfort improves daily; less sensitivity to touching paw
- ✓Week 2: near-normal walking; remaining nail stable
- ✓Weeks 3-4: protective layer forms over exposed area if any
- ✓Months 2-3: complete nail regrowth to normal length
Common Mistakes to Avoid
- ✓Using Neosporin — contains ingredients (neomycin, polymyxin) that can cause problems if licked; better: vet-prescribed pet-safe ointments
- ✓Wrapping too tightly — cuts circulation, causes swelling of toes
- ✓Keeping the paw too wet — moisture delays healing
- ✓Not using e-collar because "my dog wouldn't lick" — they all do
- ✓Giving human pain medications (Tylenol, ibuprofen, aspirin) — ALL TOXIC to dogs
- ✓Ignoring early infection signs — day 3-5 is when most infections become visible
- ✓Pulling off a partially attached nail — very painful and damages nail bed
Not sure if your dog's nail is a home-treatment case or vet case? Upload a photo — AI assesses severity and gives you the clear answer.
Is Home Treatment Right for This Break?
Upload a photo — AI tells you if you can treat at home or need to see a vet.
Disclaimer: This article is for informational purposes only and is not a substitute for professional veterinary advice. Always consult a licensed veterinarian for diagnosis and treatment of your pet's health conditions.