Dog Exposed Quick on Nail: Treatment and Pain Relief
Exposed quick on a dog nail = extremely painful. Here's exactly how to treat it, stop the bleeding, relieve pain, and prevent infection — plus when to see a vet.
Published 2026-04-19

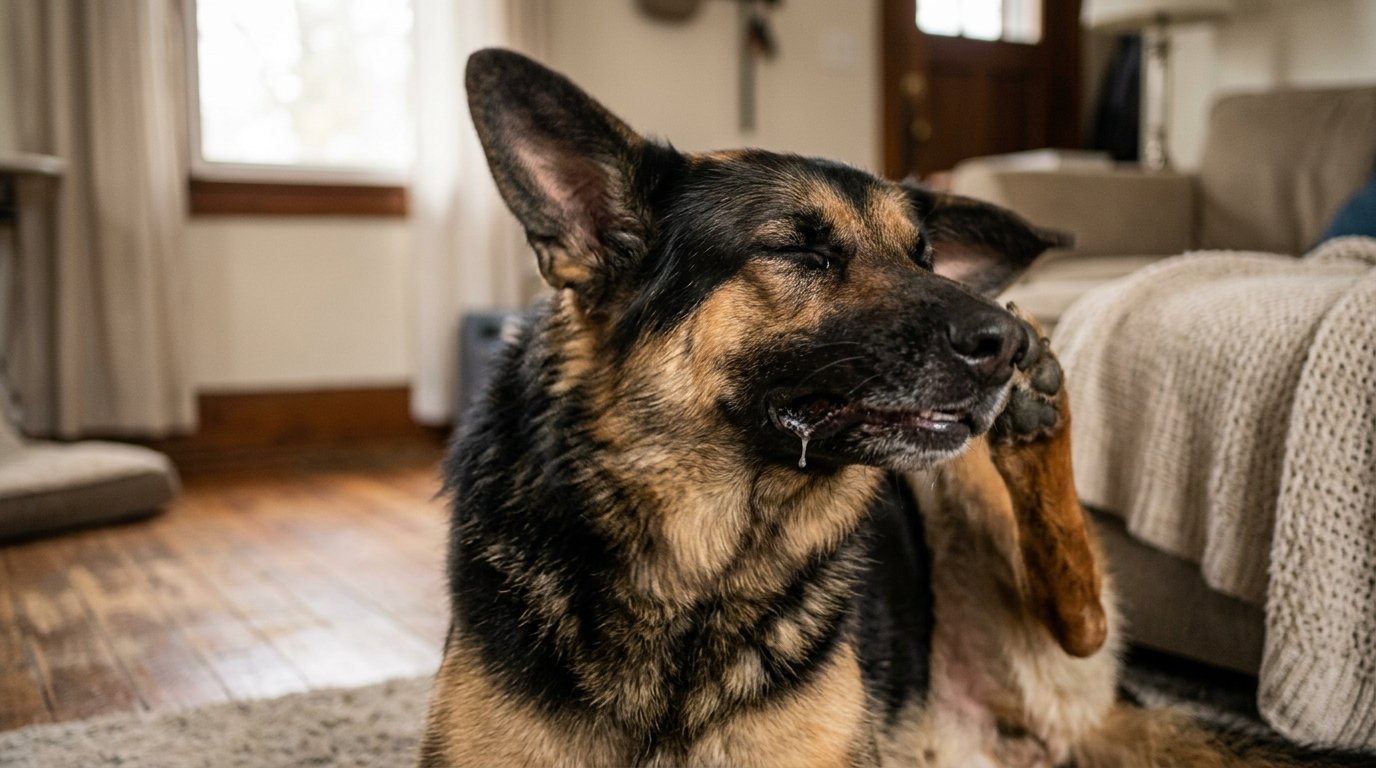
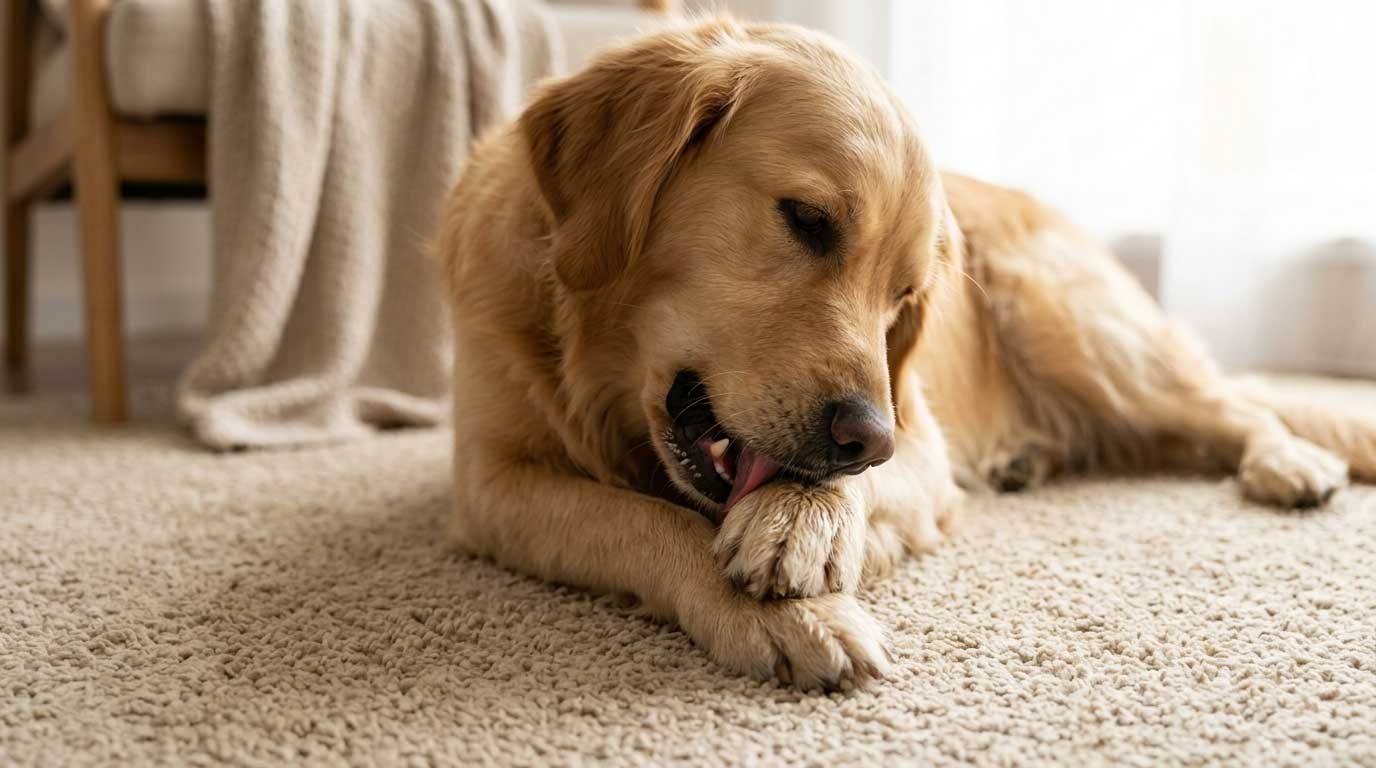
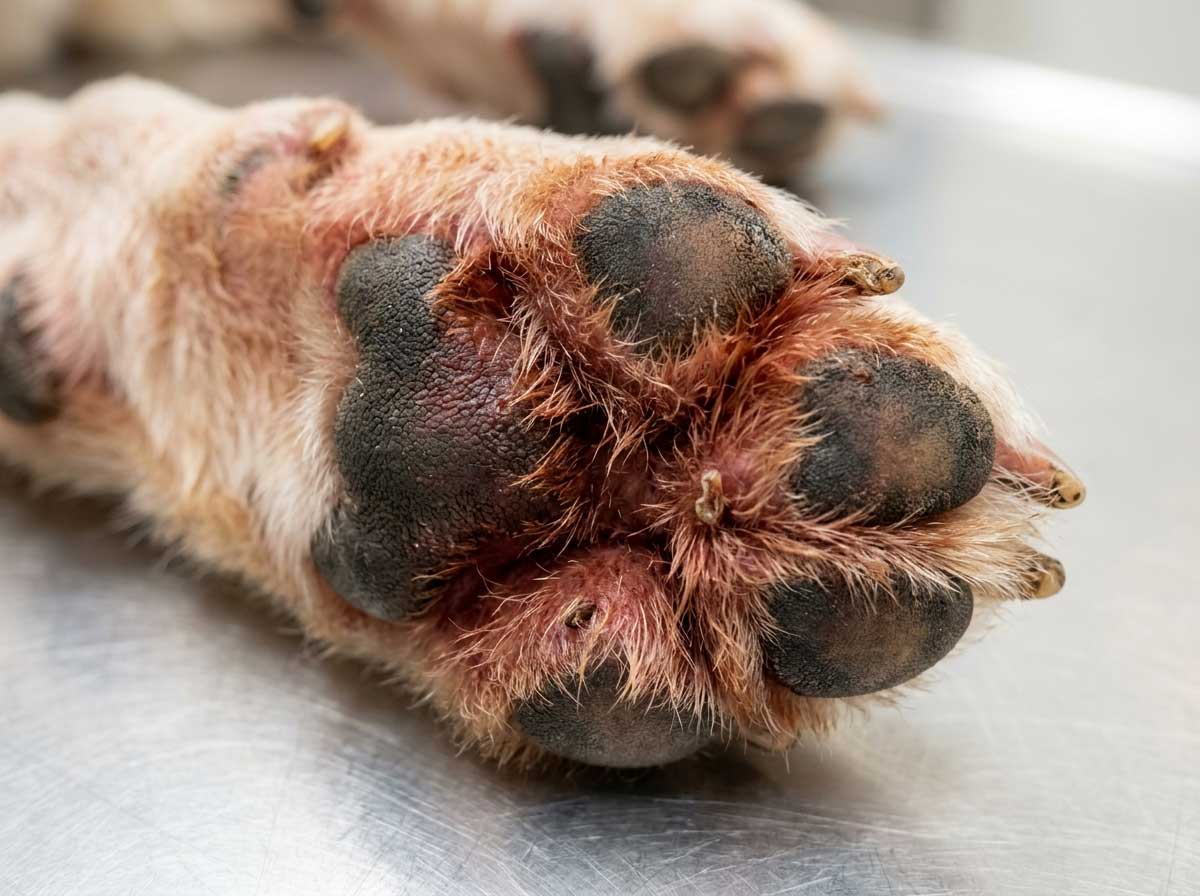
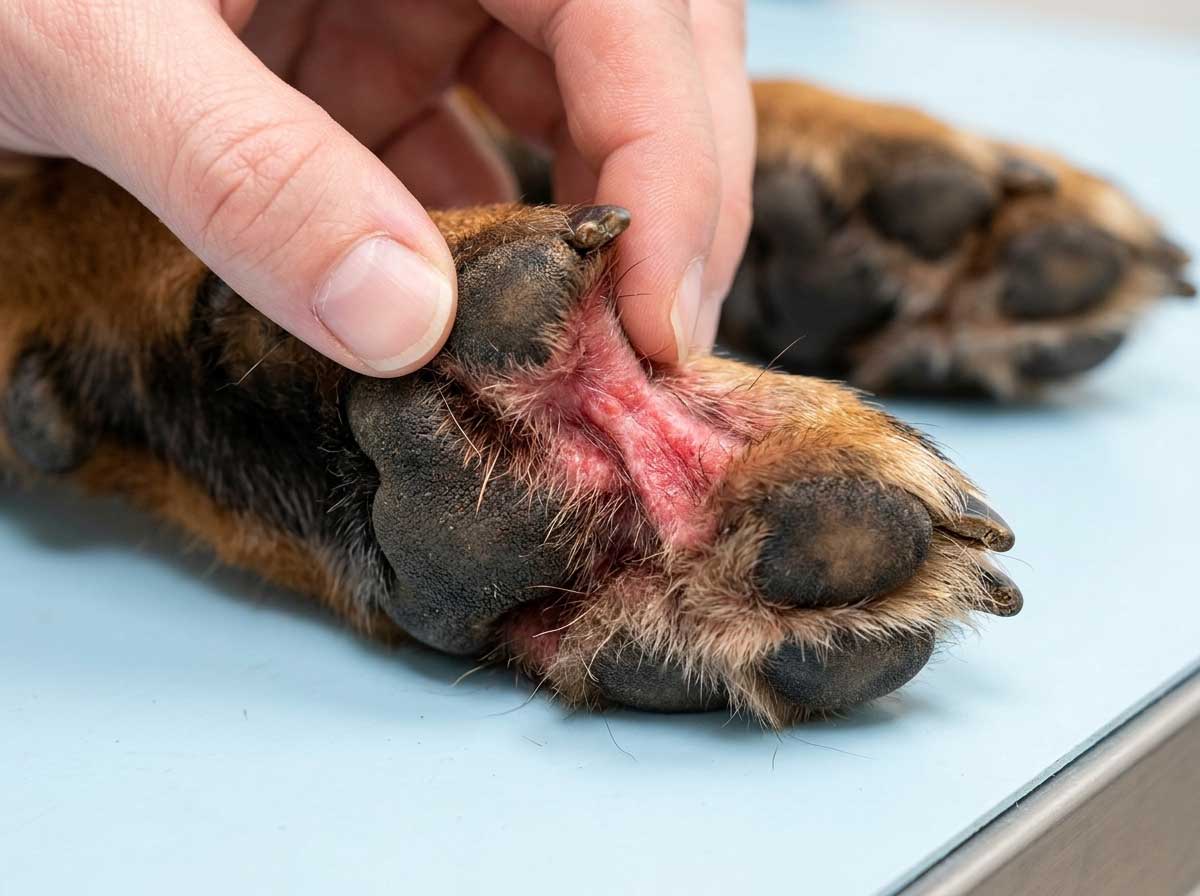
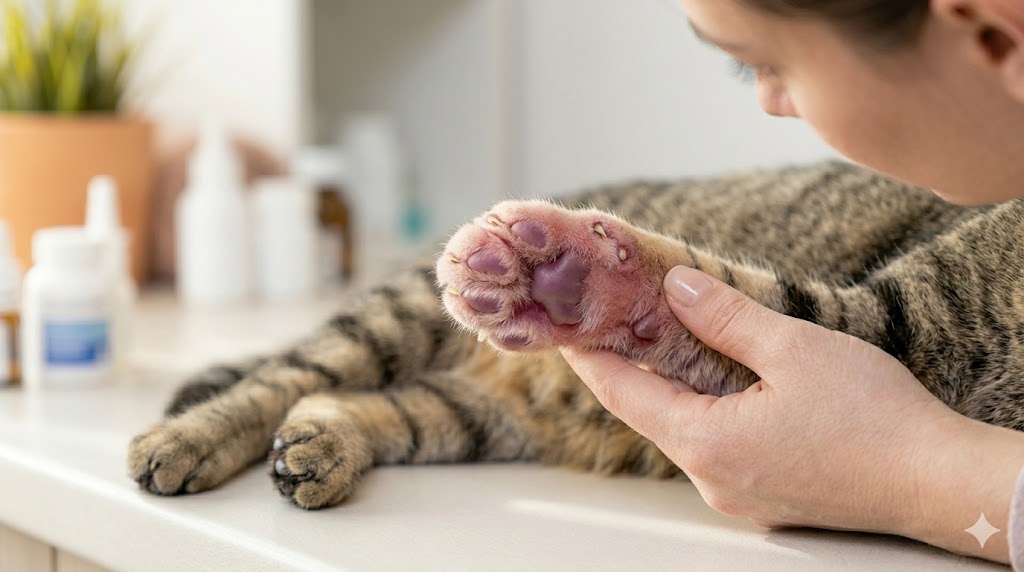
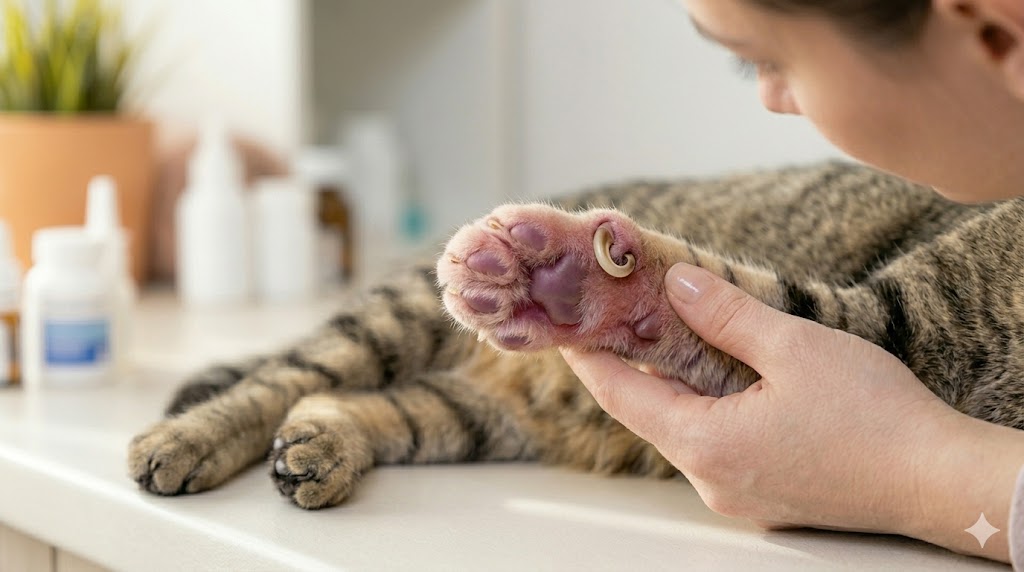
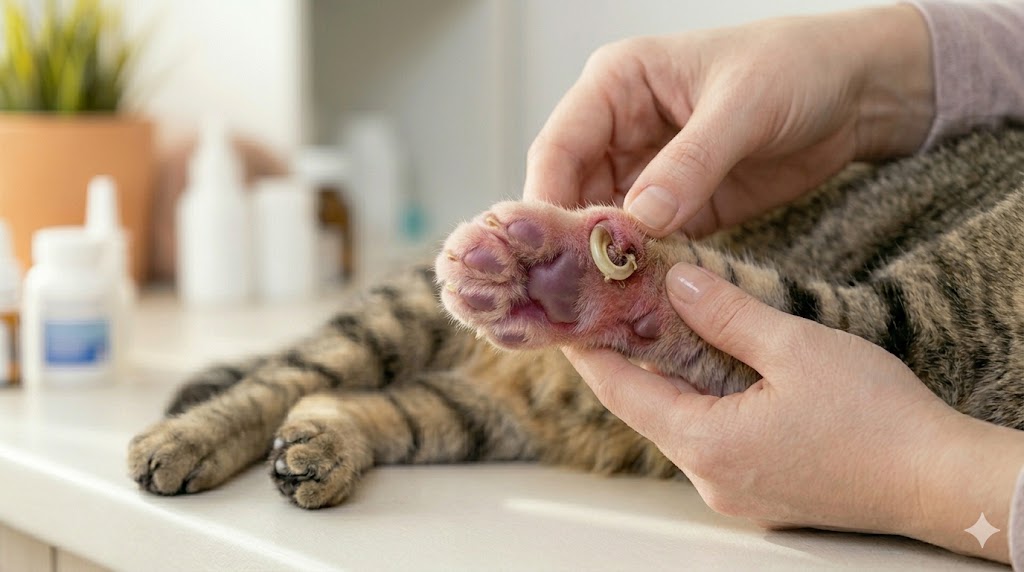
Your dog's nail broke and you can see pink tissue where the nail should be. That's the QUICK — the blood vessel and nerve inside the nail. It's one of the most painful injuries dogs regularly experience. Here's how to treat it properly.
What Is the Quick?
Every dog nail has a central core containing a blood vessel and nerve, called the quick. In healthy nails, the quick is fully protected by the hard outer nail shell. When that shell is broken below the normal nail level, the quick becomes exposed.
Exposed quick is extremely painful because:
- ✓Nerve endings are normally insulated by the nail — suddenly exposed to air, temperature, touch
- ✓Even normal walking pressure stimulates the nerve directly
- ✓The blood vessel can bleed repeatedly with minor bumps
Equivalent in human terms: like ripping off a fingernail.
Immediate Treatment (First Hour)
Step 1: Stop Bleeding
Apply styptic powder + firm pressure for 30-60 seconds. Repeat if bleeding restarts. For heavy bleeding, pressure for 5-10 minutes may be needed. See our "How to Stop Dog Nail Bleeding" guide for alternatives.
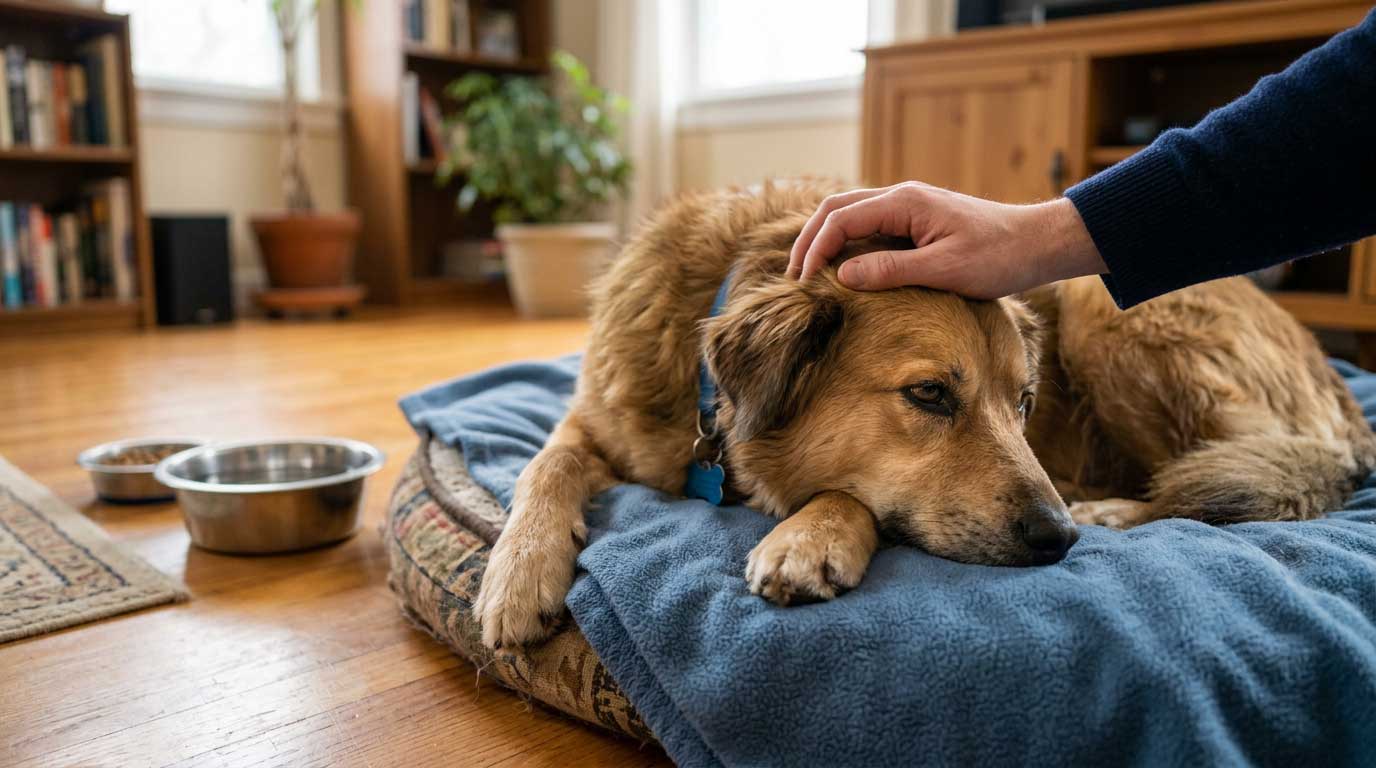
Step 2: Control Your Dog's Pain and Stress
Your dog is in significant pain. Actions:
- ✓Soft calm voice, slow movements
- ✓Give a high-value treat to help associate paw handling with positivity
- ✓If your dog is aggressive from pain, don't force it — call the vet for sedation-assisted care
- ✓Restrict movement — keep your dog in one room or crate
- ✓Block access to stairs, furniture, high-activity areas
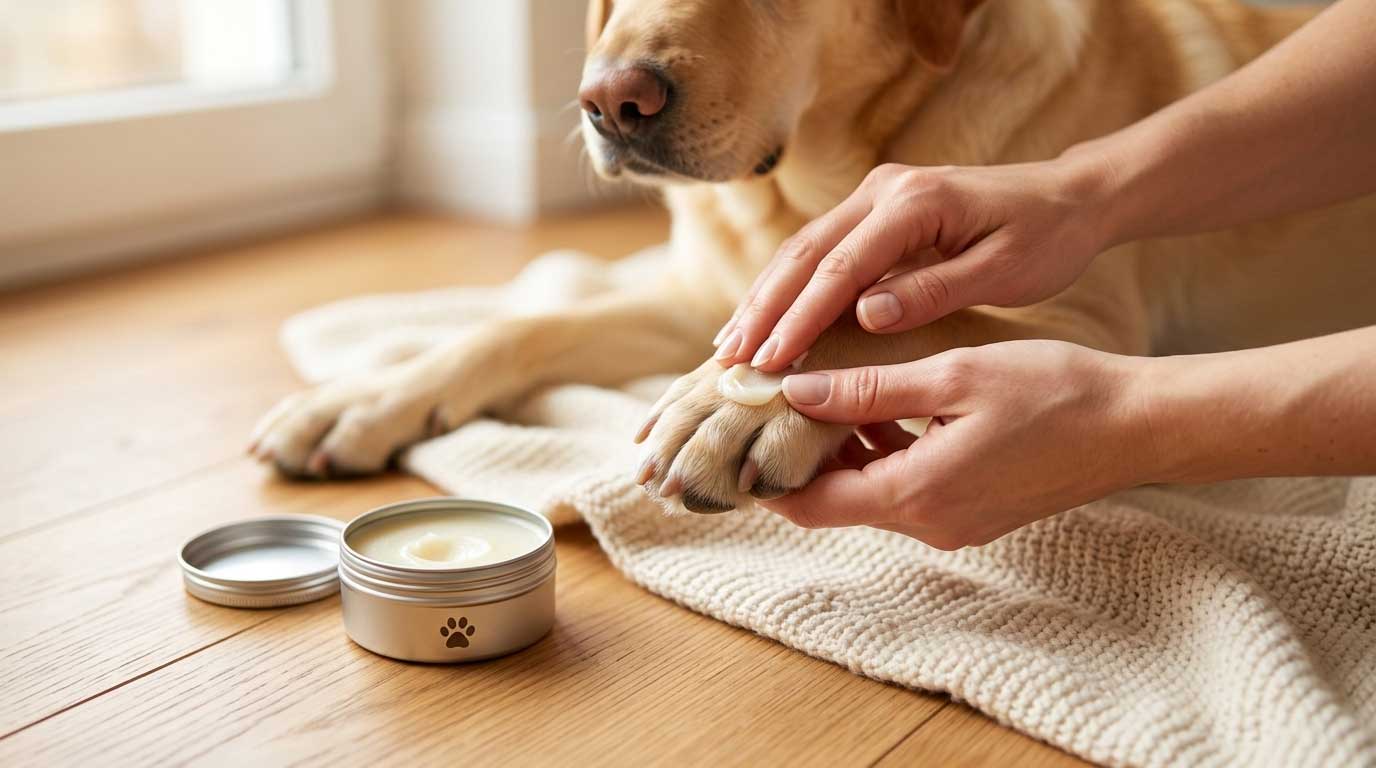
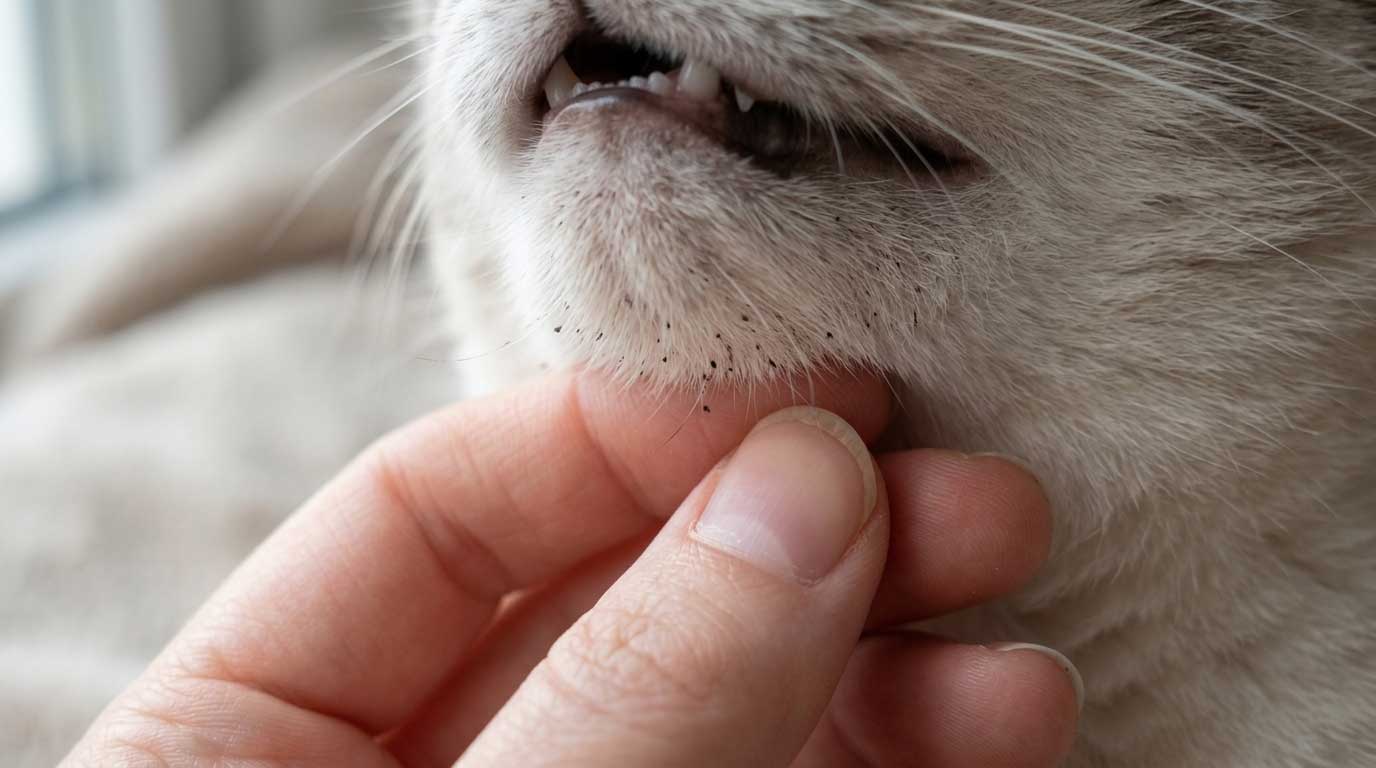
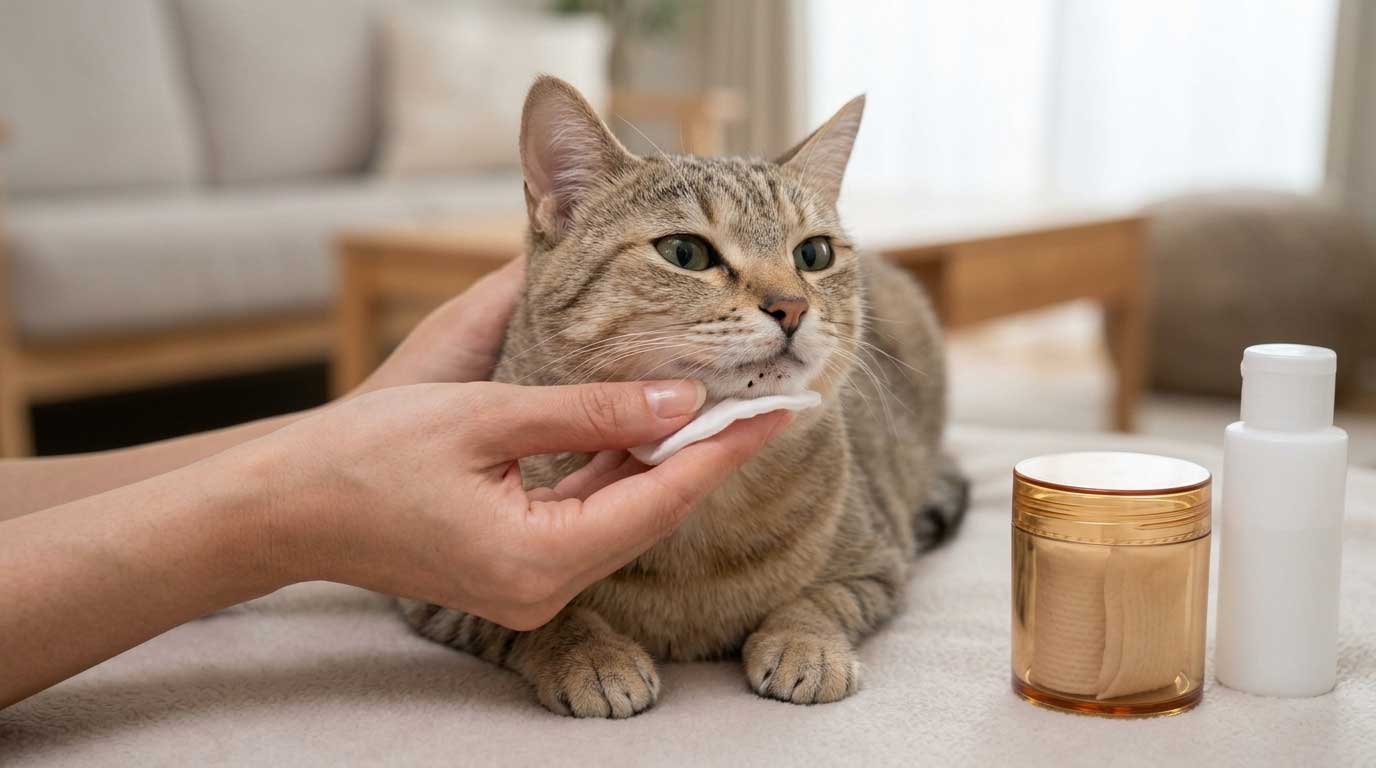
Step 3: Gentle Cleaning
Once bleeding stops:
- ✓Warm water or diluted chlorhexidine 2% solution (most effective)
- ✓Gently pour over the exposed area — do NOT scrub
- ✓Use soft gauze to blot (not rub)
- ✓Thorough gentle drying
AVOID: hydrogen peroxide (damages healing tissue), alcohol (too irritating), iodine directly on the quick (stings), soap with dyes or fragrances.
Step 4: Light Protective Covering (Optional)
If your dog will tolerate:
- ✓Gauze pad over the exposed area
- ✓Vet wrap (self-adhesive) wrapped loosely
- ✓Include the toe above the wrap for circulation check
- ✓Change the dressing daily
- ✓Remove at night to allow drying
For dogs who won't leave the wrap alone: try a clean sock + vet wrap. Or see below for e-collar options.
Vet Visit Recommended Within 24-48 Hours
Exposed quick isn't an emergency if bleeding is controlled, but it's also NOT "just monitor at home." Schedule within 1-2 days for:
- ✓PAIN MEDICATION — prescription NSAIDs (carprofen, meloxicam) or gabapentin make a dramatic comfort difference
- ✓ASSESSMENT — vet checks if remaining nail needs trimming further or if nail bed is damaged
- ✓PROPHYLACTIC ANTIBIOTICS — sometimes prescribed, especially if the quick exposure is extensive or dog has risk factors
- ✓BANDAGING — in-clinic bandages tend to stay on better than home attempts
- ✓FOLLOW-UP PLAN — schedule for reassessment in 7-14 days
Typical cost: $100-300 for exam + pain meds + antibiotics + bandage.
Pain Relief Options
Vet-Prescribed (Most Effective)
- ✓Carprofen (Rimadyl) or meloxicam (Metacam) — dog-safe NSAIDs
- ✓Gabapentin — nerve pain modulator, very effective for exposed nerve pain
- ✓Tramadol — opioid pain reliever (dispute on effectiveness, but sometimes used)
- ✓Combination therapy for severe cases
Home Comfort Measures
- ✓Keep your dog warm and comfortable
- ✓Soft bedding, minimize walking on hard floors
- ✓Limit jumping, stairs, running
- ✓Warm (not hot) compress for 5 minutes 2-3x daily can ease pain
- ✓Ice pack for 2-3 minutes if swelling present
- ✓Calm environment; quiet room
DO NOT USE
- ✓IBUPROFEN (Advil) — TOXIC to dogs
- ✓ACETAMINOPHEN (Tylenol) — potentially fatal in dogs
- ✓ASPIRIN — can cause GI bleeding in dogs, use only if vet specifically directs
- ✓NAPROXEN (Aleve) — toxic
- ✓Any human pain medication without explicit vet approval
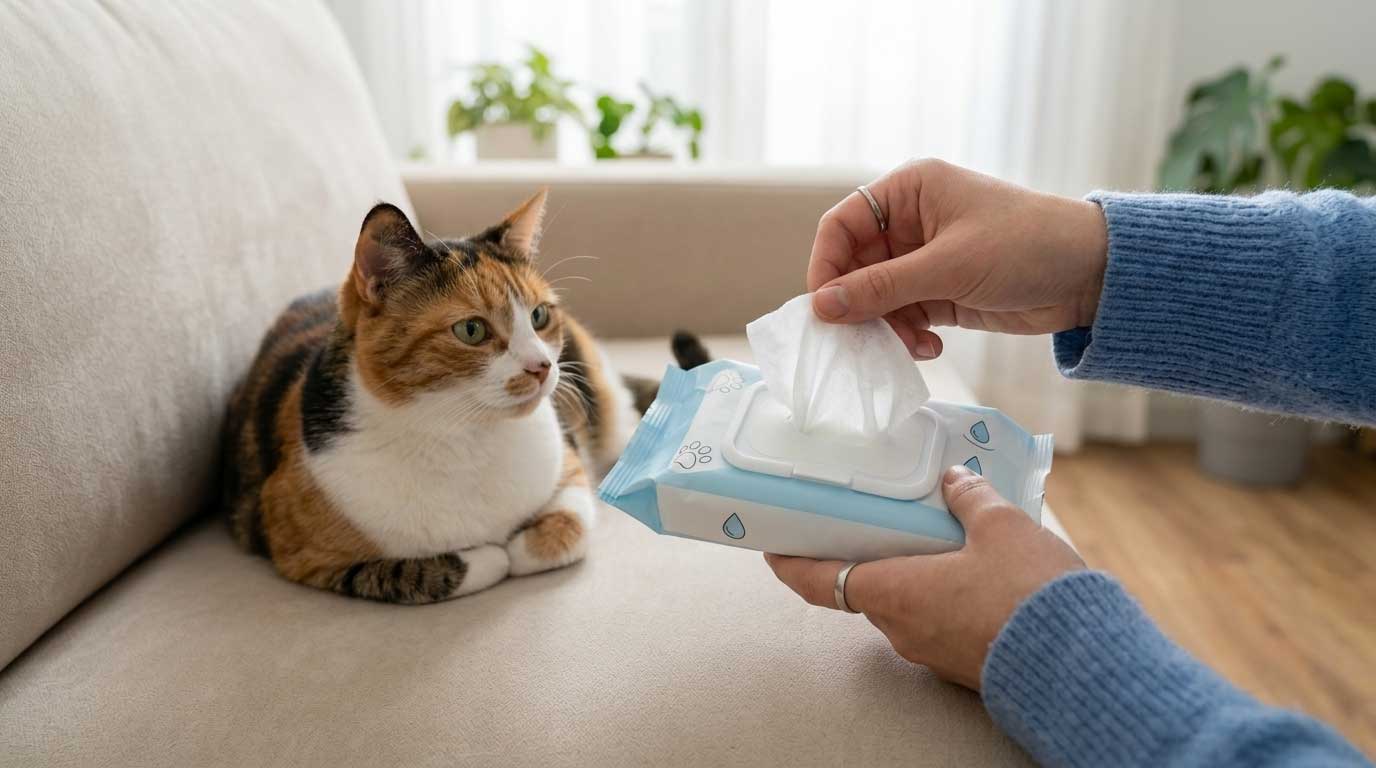
Preventing Infection
Exposed quick + warm moist environment = infection risk. Prevention:
- ✓DAILY CLEANING with diluted chlorhexidine for 7-10 days
- ✓Keep paw DRY between cleanings
- ✓E-COLLAR — most effective anti-licking measure
- ✓Change bandages daily, never leave wet bandages on
- ✓Short bathroom walks only for 5-7 days
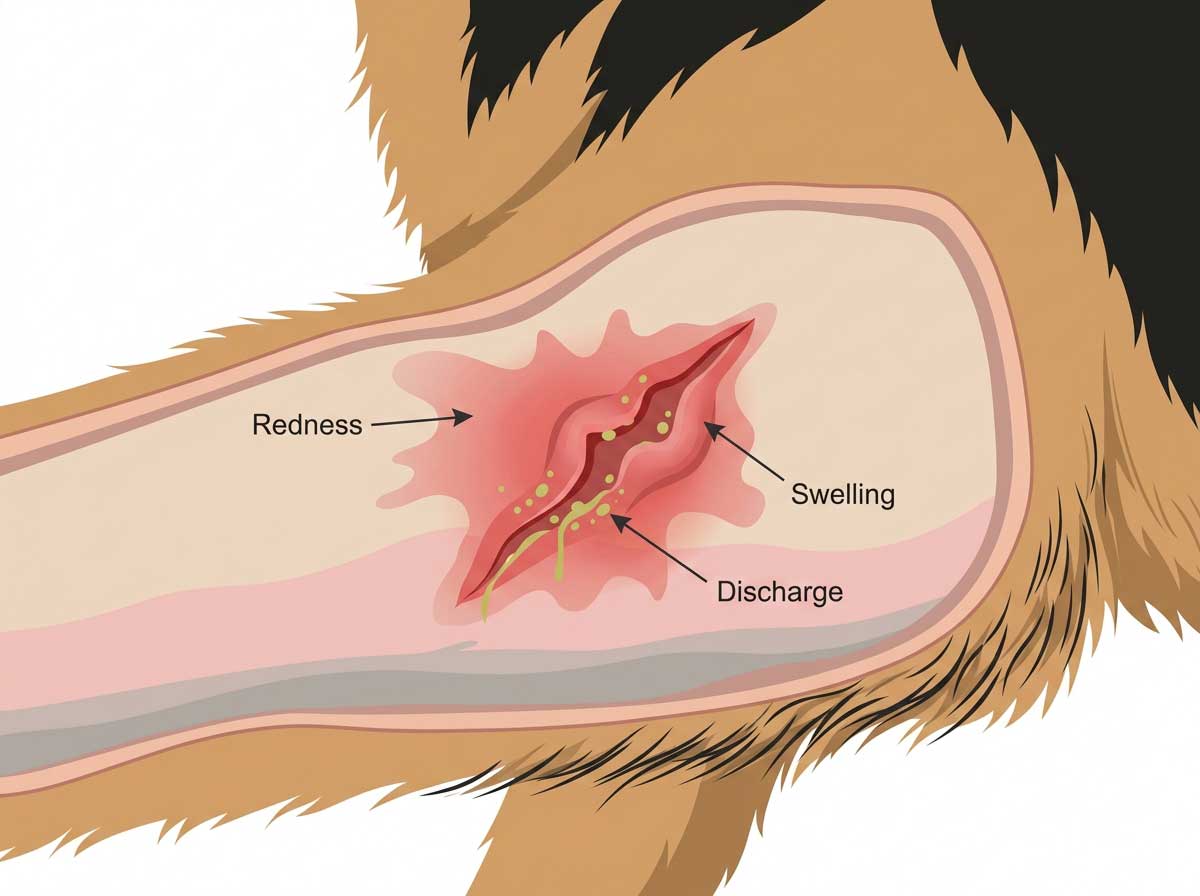
- ✓Monitor for infection signs: swelling, redness spreading, discharge, bad smell, worsening pain after day 3
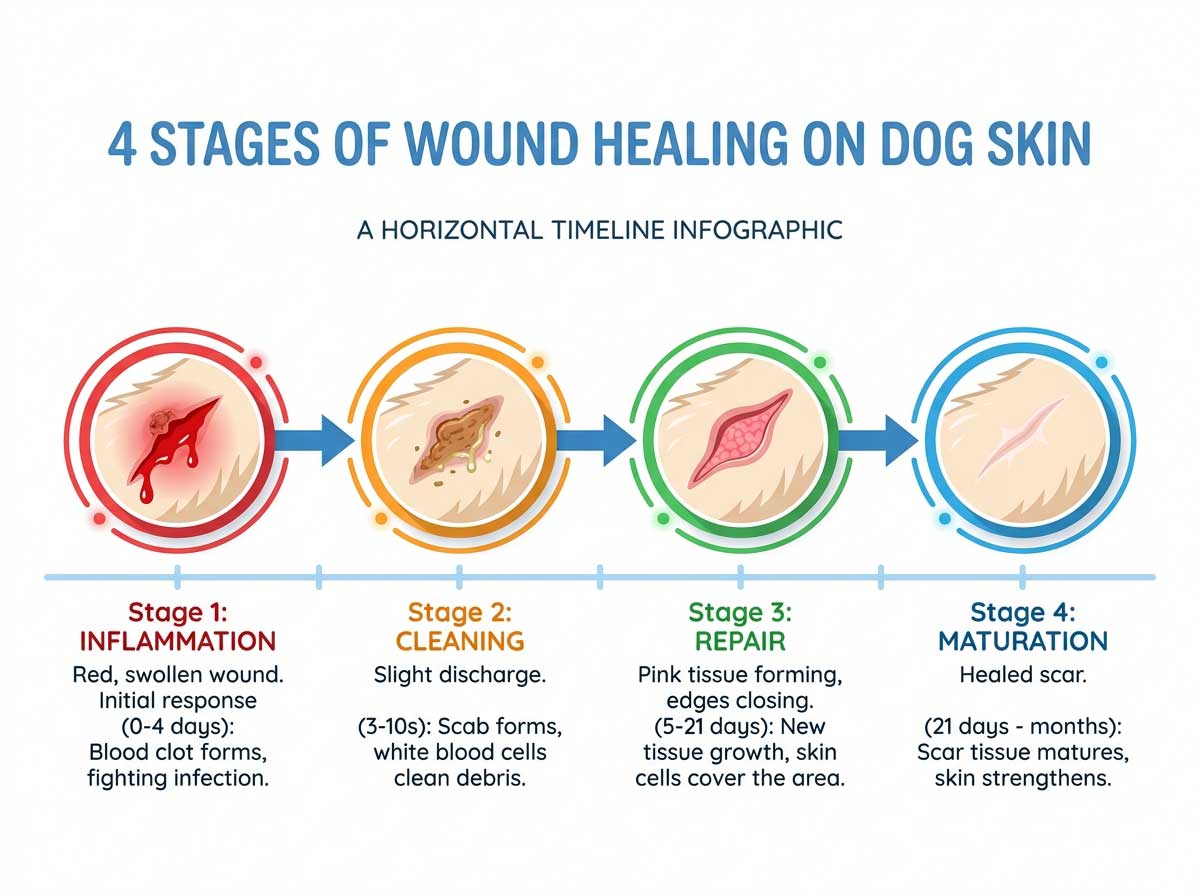
Healing Timeline
- ✓DAY 1: very painful; dog holds paw up; bleeding-prone to bumps
- ✓DAYS 2-3: pain decreases; quick starts drying out; protective layer forming
- ✓DAYS 4-7: quick noticeably less sensitive; protective layer thickening; dog walking more normally
- ✓WEEKS 2-3: nail bed continues maturing; outer layer protects quick well; full comfort return
- ✓MONTHS 2-4: new nail grows out fully
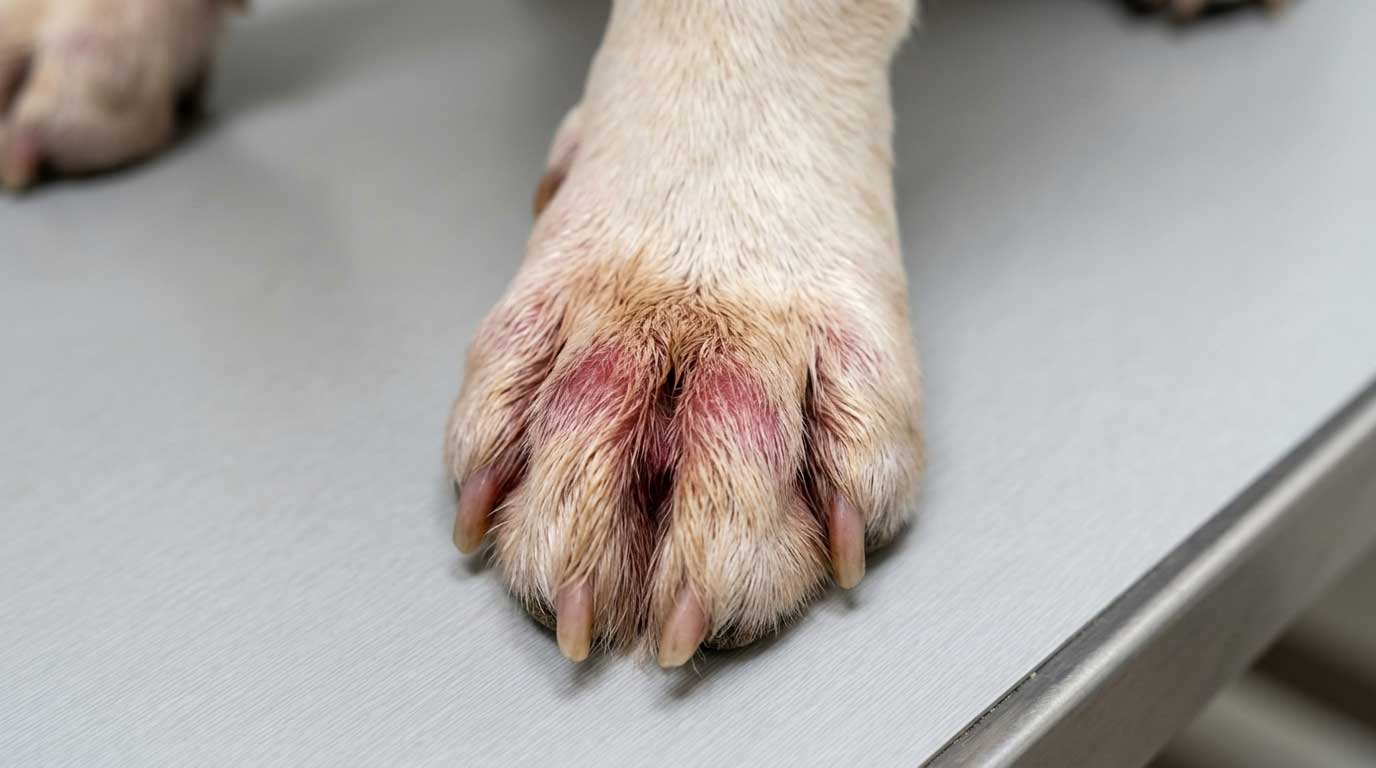
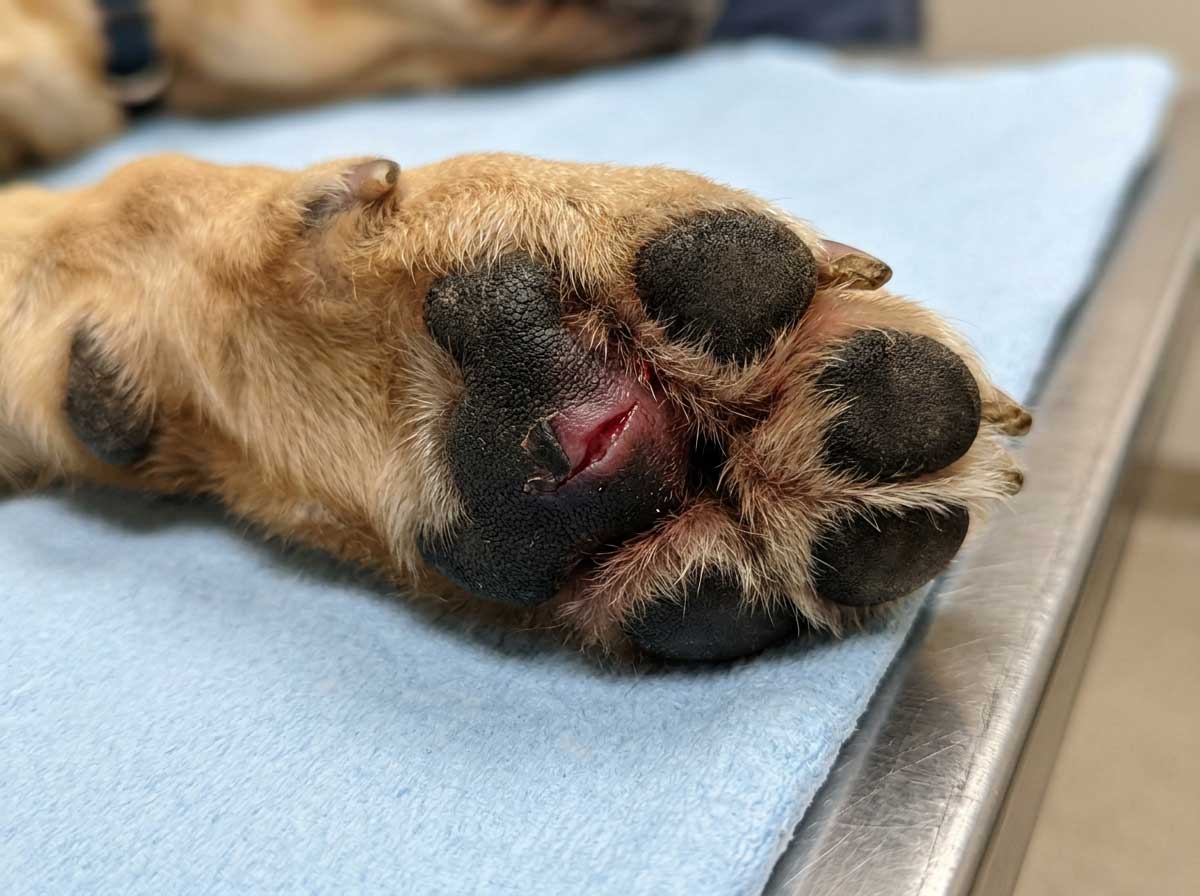
What the Quick Looks Like as It Heals
Over days, the exposed quick transforms:
- ✓Day 1: bright pink/red, shiny, wet appearance
- ✓Days 2-3: darker red, slightly crusted
- ✓Day 4+: brown/black hardened surface (like a scab) — this is protective
- ✓Weeks 2-3: surface hardens further, quick "recedes" to safer position
This progression is NORMAL — the darkening/crusting is the quick's natural protective response. Don't pick at it or try to keep it looking "clean." Let it form the protective layer.
Not sure how bad the exposed quick is? Upload a photo — AI assesses severity and tells you the right next steps.
Exposed Quick Severity Check
Upload a photo — AI assesses how much quick is exposed and helps you decide home care vs vet.
Disclaimer: This article is for informational purposes only and is not a substitute for professional veterinary advice. Always consult a licensed veterinarian for diagnosis and treatment of your pet's health conditions.